Apache APISIX Dashboard
Overview#
Apache APISIX Dashboard provides users with an intuitive web interface to operate and manage Apache APISIX. APISIX has a built-in Dashboard UI that is enabled by default, allowing users to easily configure routes, plugins, upstream services, and more through a graphical interface.
Configuring Dashboard#
Enable or Disable Dashboard#
Apache APISIX enables the embedded Dashboard by default. To modify this setting, please edit the conf/config.yaml file:
deployment:
  admin:
    # Enable embedded APISIX Dashboard
    enable_admin_ui: true
Configuration Description:
enable_admin_ui: true- Enable embedded Dashboard (enabled by default)enable_admin_ui: false- Disable embedded Dashboard
After modifying the configuration, restart Apache APISIX for changes to take effect.
Restrict IP Access#
Apache APISIX supports setting an IP access whitelist for the Admin API to prevent unauthorized access and attacks on Apache APISIX.
deployment:
    admin:
        # http://nginx.org/en/docs/http/ngx_http_access_module.html#allow
        allow_admin:
            - 127.0.0.0/24
Admin API Key#
The Dashboard interacts with Apache APISIX through the Admin API and requires a correct Admin API Key for authentication.
Configuration#
Configure the Admin API Key in conf/config.yaml:
deployment:
  admin:
    admin_key:
      -
        name: admin
        role: admin
        # Using a simple Admin API Key poses security risks. Please update it when deploying to production
        key: edd1c9f034335f136f87ad84b625c8f1
Configuration via environment variables is also supported:
deployment:
  admin:
    admin_key:
      - name: admin
        # Read from environment variable
        key: ${{ADMIN_KEY}}
        role: admin
Set the environment variable before use:
export ADMIN_KEY=your-secure-api-key
Restart Apache APISIX after modifying the configuration for changes to take effect.
Using in Dashboard#
Access the Dashboard, for example at http://127.0.0.1:9180/ui/.
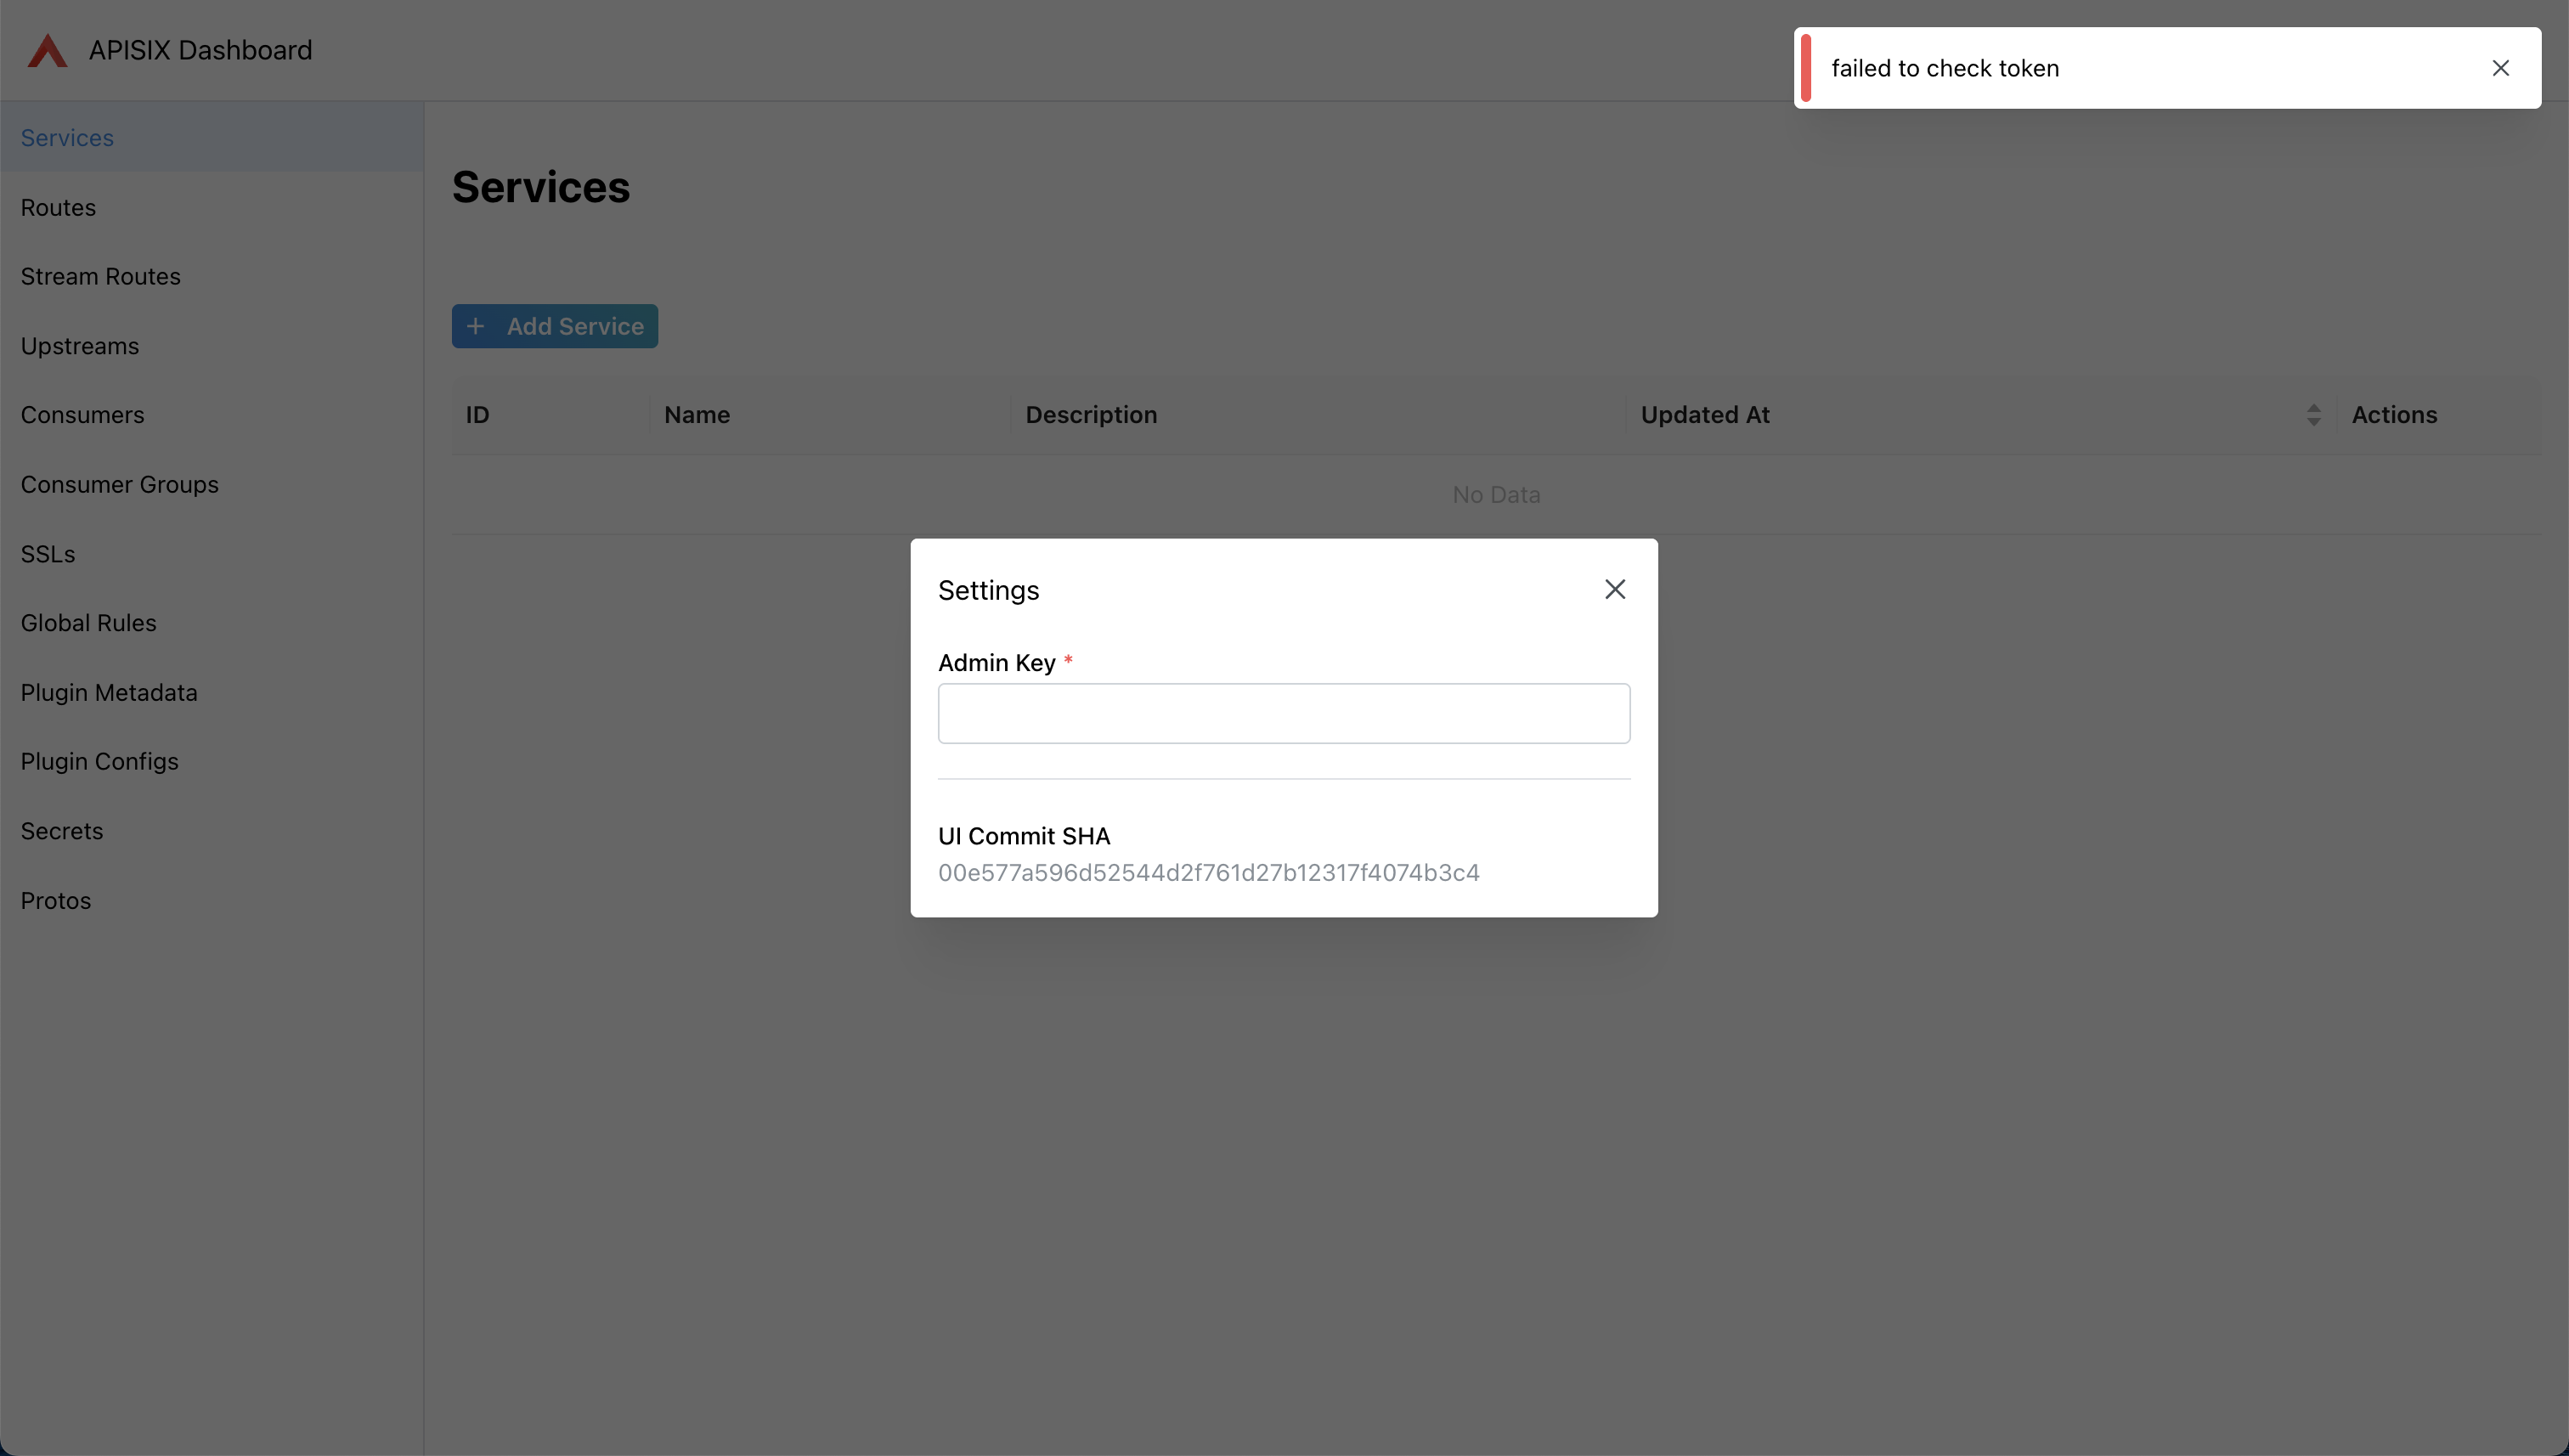
When the Admin API Key is not configured, the settings modal will pop up:
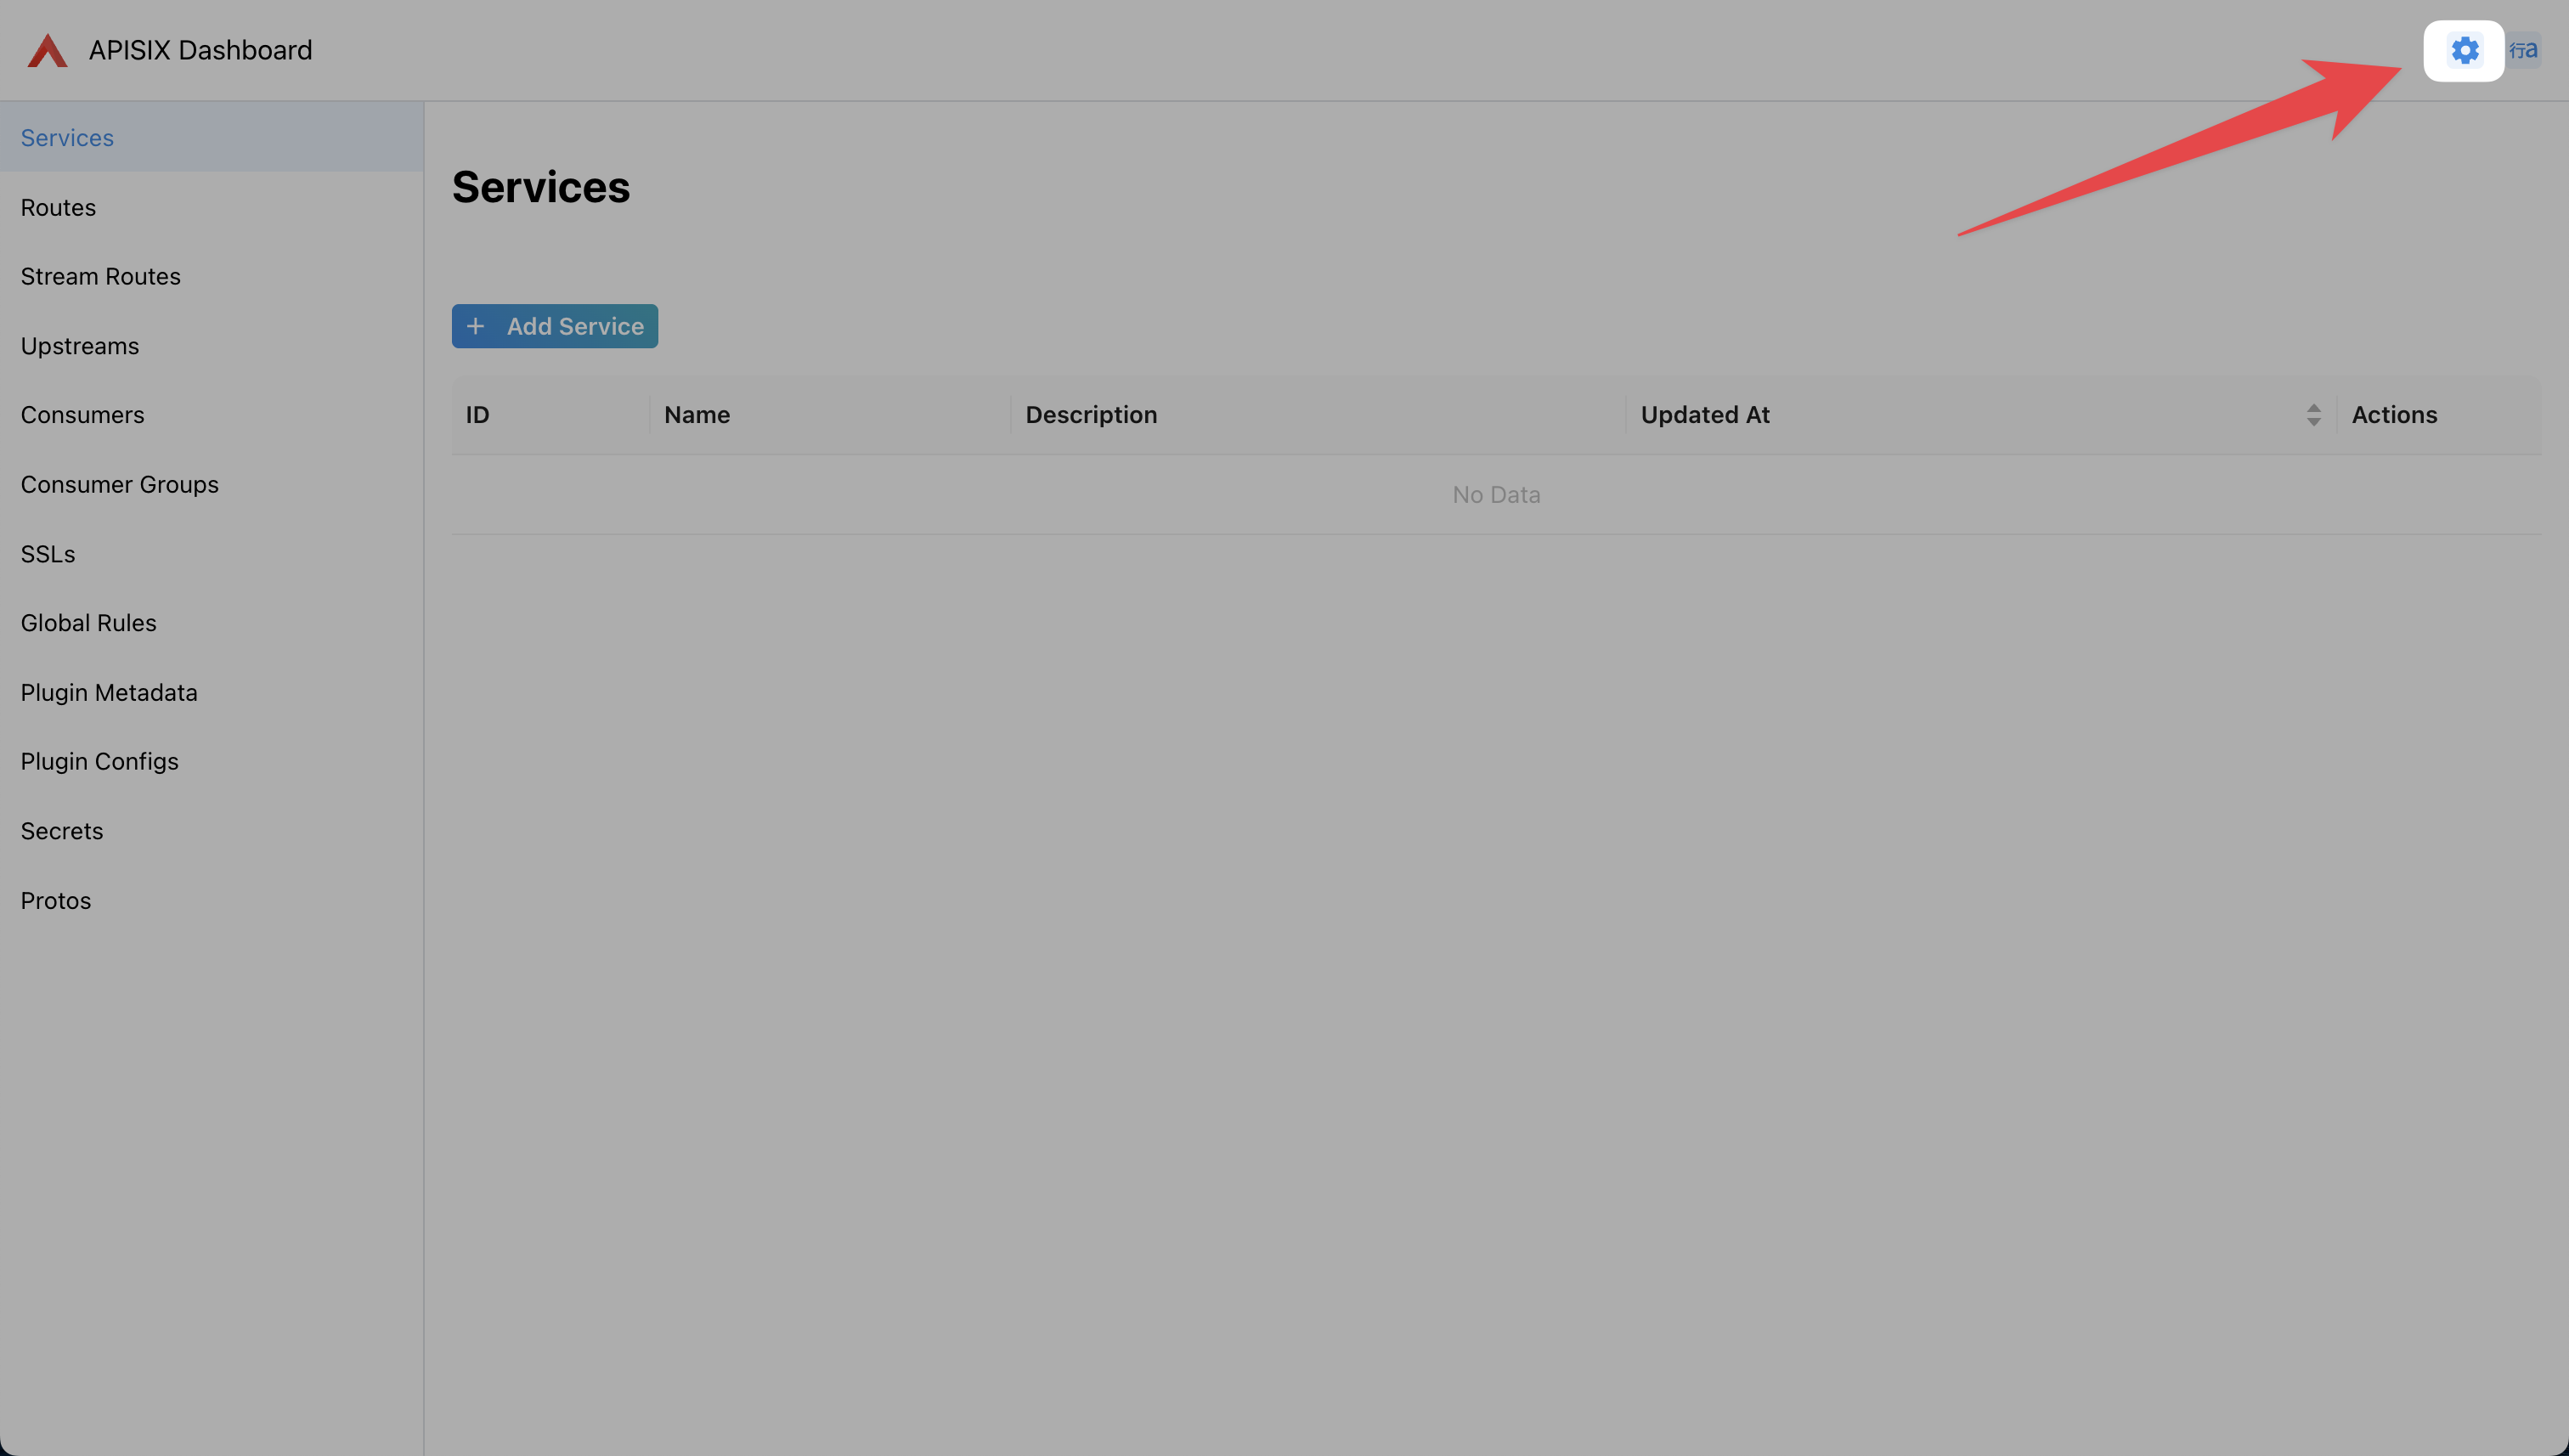
If you accidentally close the settings modal, you can click the button ![]()
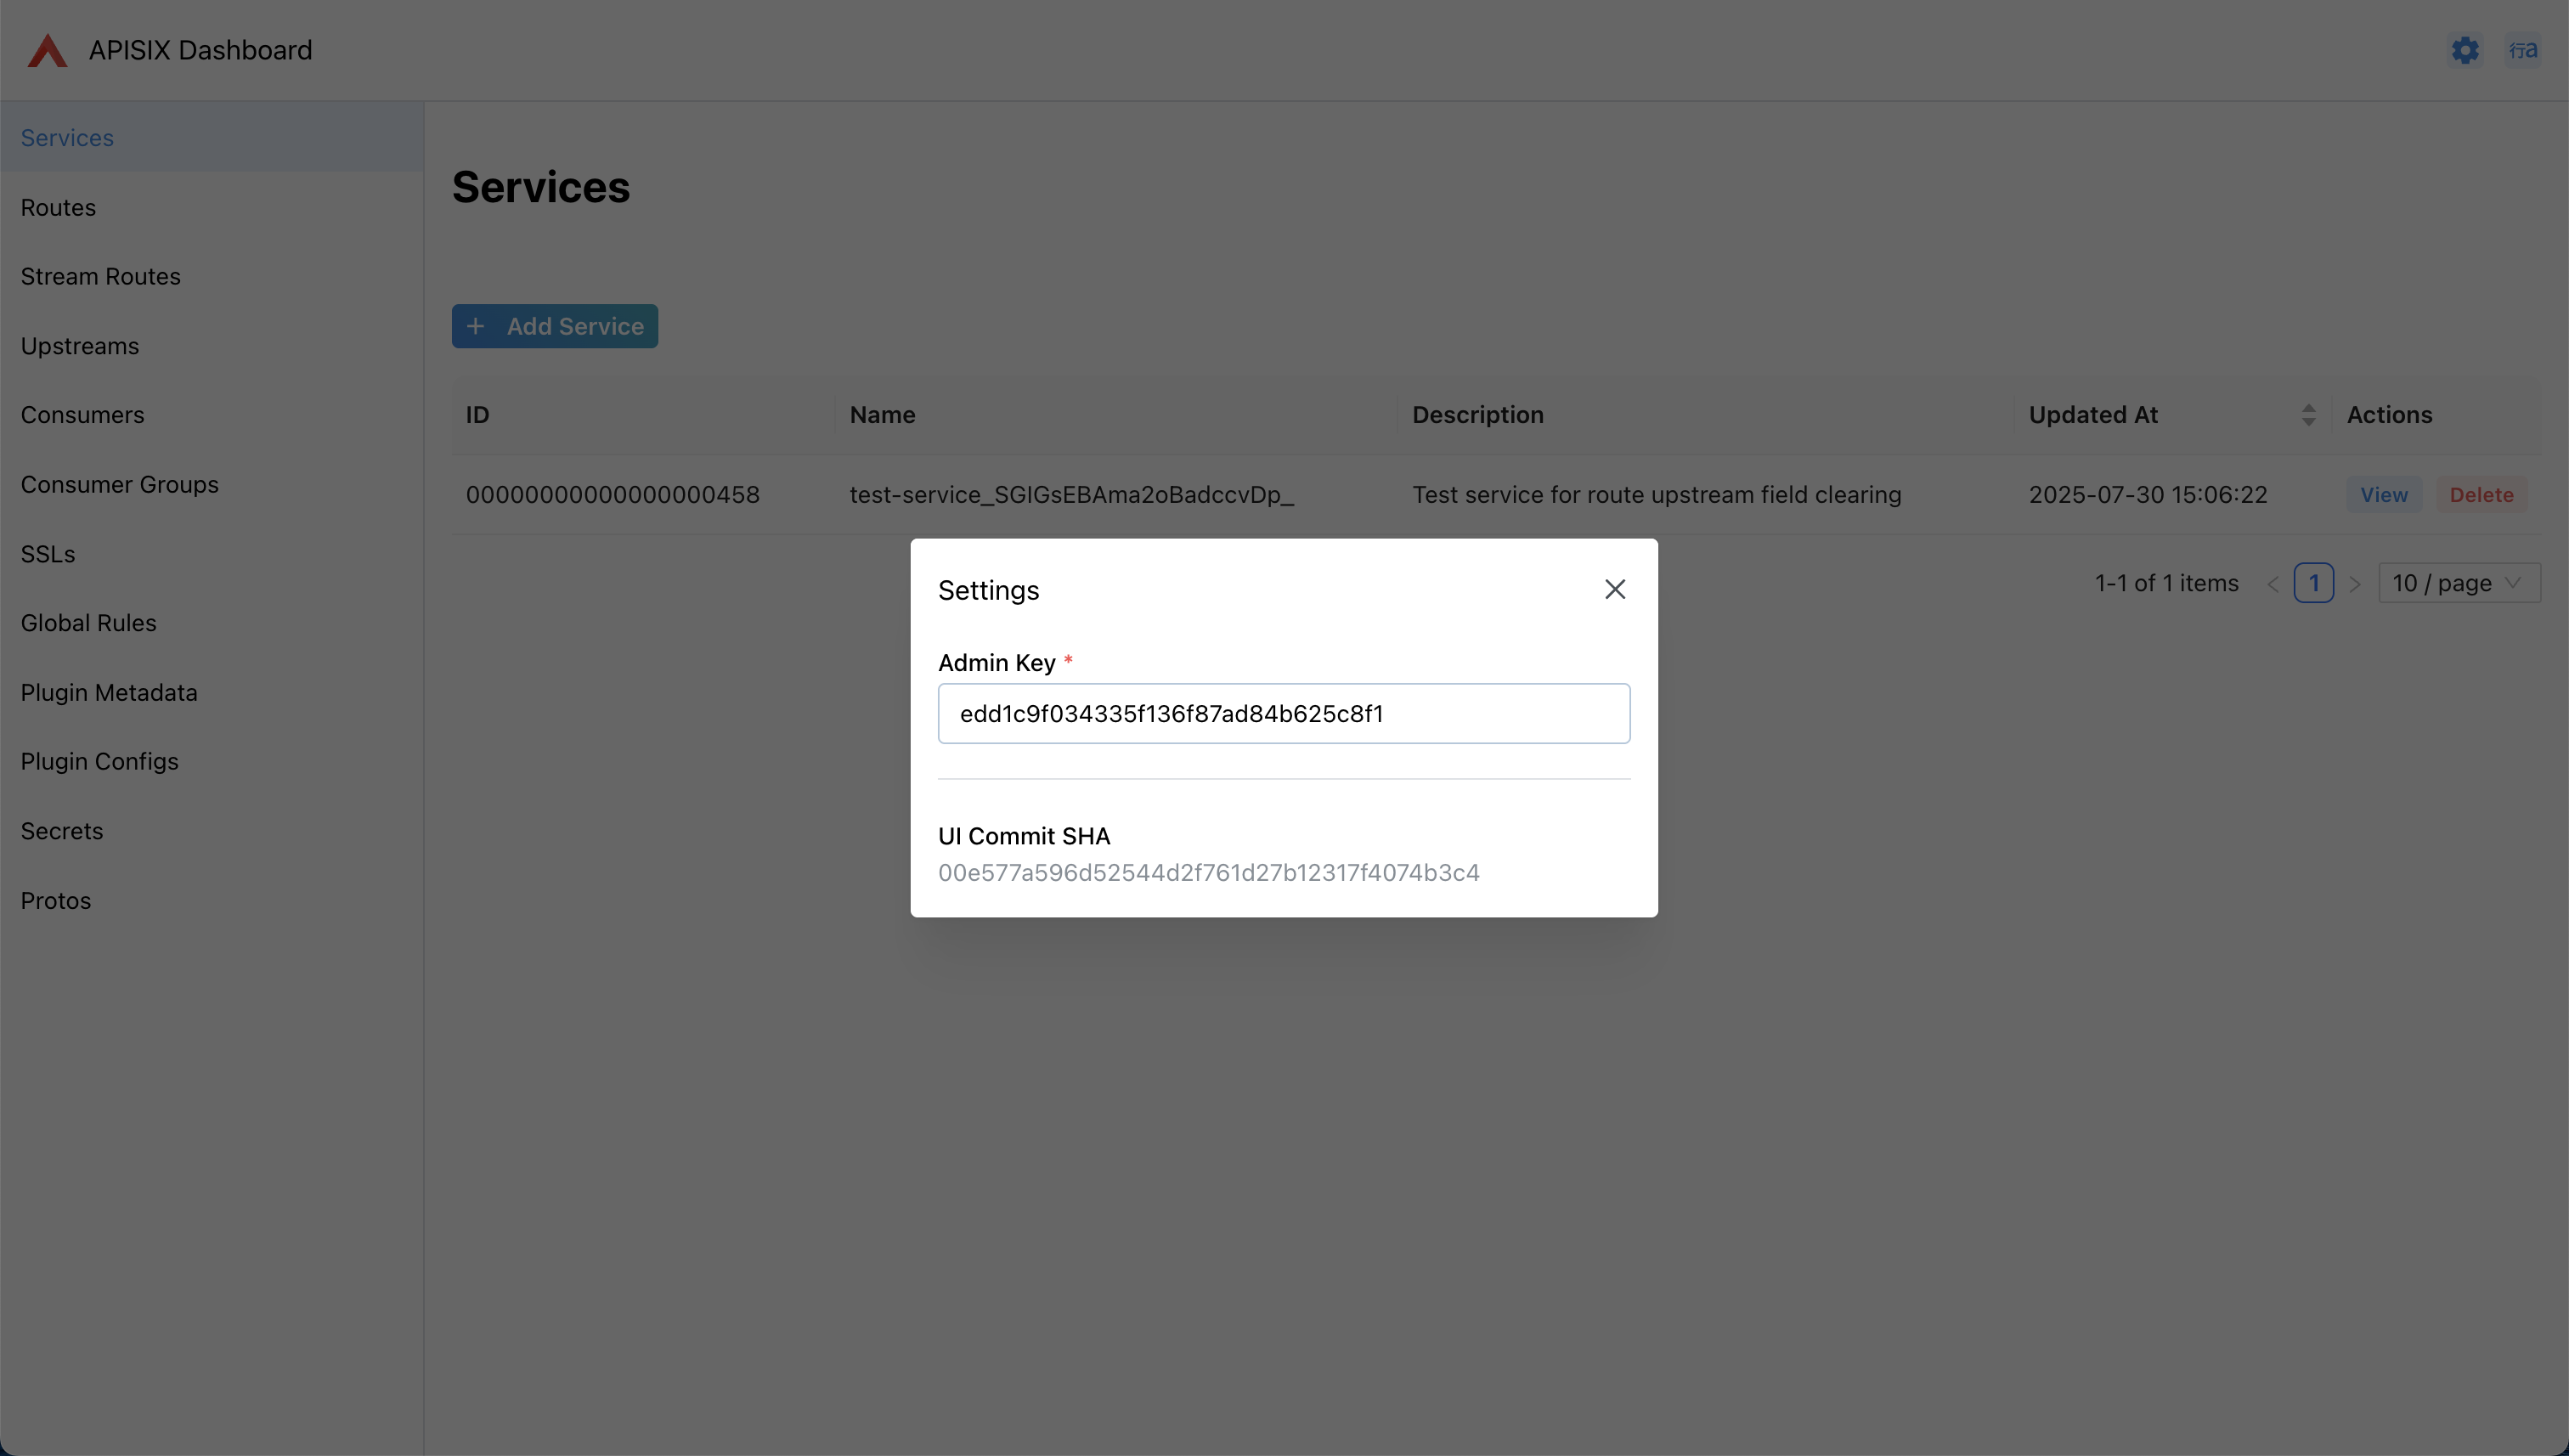
Next, enter the Admin API Key configured in the previous section. The Dashboard will automatically make a request. If configured incorrectly, the Dashboard will still display failed to check token in the upper right corner:

If configured correctly, the Dashboard will no longer display failed to check token. At this point, click X or the blank area to close the settings modal and use normally.
FAQ#
Why was Apache APISIX Dashboard refactored?#
Apache APISIX Dashboard has evolved through multiple versions:
- Version 1.x: A simple Web UI based on Vue.js that directly called the Admin API
- Version 2.x: Adopted React + Ant Design Pro frontend architecture, introducing a Golang backend and database storage
During the development of version 2.x, as community demand for features continued to increase, the project gradually became complex and bloated, while synchronization with the main APISIX version also faced challenges.
After thorough discussion, the community decided to clarify the Dashboard's positioning and functional boundaries, returning to a lightweight design to ensure tight integration and version synchronization with the APISIX core.
Future Apache APISIX Dashboard will focus on:
- Simplified Architecture: Remove unnecessary complex components and return to the Dashboard's essential functions
- Enhanced User Experience: Provide an intuitive and efficient management interface
- Version Synchronization: Maintain synchronized releases with Apache APISIX main versions
- Production Ready: Ensure stability and reliability, suitable for production environments
For more planning information, please see: Dashboard Roadmap
Release Cycles#
The project no longer releases independently and has deprecated the release and tag versioning approach.
When Apache APISIX is released, the Dashboard will be built directly based on a specified Git commit hash, and the artifacts will be embedded into Apache APISIX.
Legacy Apache APISIX Dashboard#
Apache APISIX Dashboard 3.0.1 is the last version before the refactoring that used the old release model. It should only be used with Apache APISIX 3.0, as any higher or lower versions have not been tested.
If needed, you can read the Legacy Apache APISIX Dashboard Documentation.
If you are a new user of Apache APISIX or Apache APISIX Dashboard, we strongly recommend that you always start with the latest version rather than any historical version.
Contributing Guide#
For details, please read the Apache APISIX Dashboard README.