skywalking-logger
描述#
skywalking-logger 插件将请求和响应日志作为 JSON 对象批量推送到 SkyWalking OAP 服务器,并支持日志格式的自定义。
如果存在现有的跟踪上下文,它会自动设置跟踪日志关联并依赖于 SkyWalking 跨进程传播标头协议。
属性#
| 名称 | 类型 | 必选项 | 默认值 | 有效值 | 描述 |
|---|---|---|---|---|---|
| endpoint_addr | string | 是 | SkyWalking OAP 服务器的 URI。 | ||
| service_name | string | 否 | "APISIX" | SkyWalking 服务名称。 | |
| service_instance_name | string | 否 | "APISIX Instance Name" | SkyWalking 服务的实例名称。当设置为 $hostname 会直接获取本地主机名。 | |
| log_format | object | 否 | 日志格式以 JSON 的键值对声明。值支持字符串和嵌套对象(最多五层,超出部分将被截断)。字符串中可通过在前面加上 $ 来引用 APISIX 变量 或 NGINX 内置变量。 | ||
| timeout | integer | 否 | 3 | [1,...] | 发送请求后保持连接活动的时间。 |
| name | string | 否 | "skywalking logger" | 标识 logger 的唯一标识符。如果您使用 Prometheus 监视 APISIX 指标,名称将以 apisix_batch_process_entries 导出。 | |
| include_req_body | boolean | 否 | false | 如果为 true,则将请求主体包含在日志中。请注意,如果请求主体太大而无法保存在内存中,则由于 NGINX 的限制而无法记录。 | |
| include_req_body_expr | array[array] | 否 | 一个或多个条件的数组,形式为 lua-resty-expr。在 include_req_body 为 true 时使用。仅当此处配置的表达式计算结果为 true 时,才会记录请求主体。 | ||
| include_resp_body | boolean | 否 | false | 如果为 true,则将响应主体包含在日志中。 | |
| include_resp_body_expr | array[array] | 否 | 一个或多个条件的数组,形式为 lua-resty-expr。在 include_resp_body 为 true 时使用。仅当此处配置的表达式计算结果为 true 时,才会记录响应主体。 |
该插件支持使用批处理器来聚合并批量处理条目(日志/数据)。这样可以避免插件频繁地提交数据,默认设置情况下批处理器会每 5 秒钟或队列中的数据达到 1000 条时提交数据,如需了解批处理器相关参数设置,请参考 Batch-Processor。
元数据#
您还可以通过配置插件元数据来设置日志的格式。可用的配置如下:
| 名称 | 类型 | 必选项 | 默认值 | 有效值 | 描述 |
|---|---|---|---|---|---|
| log_format | object | 否 | 日志格式以 JSON 的键值对声明。值支持字符串和嵌套对象(最多五层,超出部分将被截断)。字符串中可通过在前面加上 $ 来引用 APISIX 变量 或 NGINX 内置变量。 | ||
| max_pending_entries | integer | 否 | 在批处理器中开始删除待处理条目之前可以购买的最大待处理条目数。 |
示例#
以下示例演示了如何为不同场景配置 skywalking-logger 插件。
要按照示例操作,请按照 Skywalking 的文档 使用 Docker Compose 启动存储、OAP 和 Booster UI。设置完成后,OAP 服务器应在 12800 上监听,并且您应该能够通过 http://localhost:8080 访问 UI。
note
您可以这样从 config.yaml 中获取 admin_key 并存入环境变量:
admin_key=$(yq '.deployment.admin.admin_key[0].key' conf/config.yaml | sed 's/"//g')
以默认日志格式记录请求#
以下示例演示了如何在路由上配置 skywalking-logger 插件,以记录到达路由的请求信息。
使用 skywalking-logger 插件创建路由,并使用 OAP 服务器 URI 配置插件:
curl "http://127.0.0.1:9180/apisix/admin/routes" -X PUT \
  -H "X-API-KEY: ${admin_key}" \
  -d '{
    "id": "skywalking-logger-route",
    "uri": "/anything",
    "plugins": {
      "skywalking-logger": {
        "endpoint_addr": "http://192.168.2.103:12800"
      }
    },
    "upstream": {
      "nodes": {
        "httpbin.org:80": 1
      },
      "type": "roundrobin"
    }
  }'
向路由发送请求:
curl -i "http://127.0.0.1:9080/anything"
您应该会收到 HTTP/1.1 200 OK 响应。
在 Skywalking UI 中,导航至 General Service > Services。您应该会看到一个名为 APISIX 的服务,其中包含与您的请求相对应的日志条目:
{
  "upstream_latency": 674,
  "request": {
    "method": "GET",
    "headers": {
      "user-agent": "curl/8.6.0",
      "host": "127.0.0.1:9080",
      "accept": "*/*"
    },
    "url": "http://127.0.0.1:9080/anything",
    "size": 85,
    "querystring": {},
    "uri": "/anything"
  },
  "client_ip": "192.168.65.1",
  "route_id": "skywalking-logger-route",
  "start_time": 1736945107345,
  "upstream": "3.210.94.60:80",
  "server": {
    "version": "3.11.0",
    "hostname": "7edbcebe8eb3"
  },
  "service_id": "",
  "response": {
    "size": 619,
    "status": 200,
    "headers": {
      "content-type": "application/json",
      "date": "Thu, 16 Jan 2025 12:45:08 GMT",
      "server": "APISIX/3.11.0",
      "access-control-allow-origin": "*",
      "connection": "close",
      "access-control-allow-credentials": "true",
      "content-length": "391"
    }
  },
  "latency": 764.9998664856,
  "apisix_latency": 90.999866485596
}
使用插件元数据记录请求和响应标头#
以下示例演示了如何使用插件元数据和内置变量自定义日志格式,以记录来自请求和响应的特定标头。
在 APISIX 中,插件元数据用于配置同一插件的所有插件实例的通用元数据字段。当插件在多个资源中启用并需要对其元数据字段进行通用更新时,它很有用。
首先,使用 skywalking-logger 插件创建路由,并使用您的 OAP 服务器 URI 配置插件:
curl "http://127.0.0.1:9180/apisix/admin/routes" -X PUT \
  -H "X-API-KEY: ${admin_key}" \
  -d '{
    "id": "skywalking-logger-route",
    "uri": "/anything",
    "plugins": {
      "skywalking-logger": {
        "endpoint_addr": "http://192.168.2.103:12800"
      }
    },
    "upstream": {
      "nodes": {
        "httpbin.org:80": 1
      },
      "type": "roundrobin"
    }
  }'
接下来,配置 skywalking-logger 的插件元数据,以记录自定义请求头 env 和响应头 Content-Type:
curl "http://127.0.0.1:9180/apisix/admin/plugin_metadata/skywalking-logger" -X PUT \
  -H "X-API-KEY: ${admin_key}" \
  -d '{
    "log_format": {
      "host": "$host",
      "@timestamp": "$time_iso8601",
      "client_ip": "$remote_addr",
      "env": "$http_env",
      "resp_content_type": "$sent_http_Content_Type"
    }
  }'
使用 env 标头向路由发送请求:
curl -i "http://127.0.0.1:9080/anything" -H "env: dev"
您应该收到 HTTP/1.1 200 OK 响应。在 Skywalking UI 中,导航至 General Service > Services。您应该会看到一个名为 APISIX 的服务,其中包含与您的请求相对应的日志条目:
[
  {
    "route_id": "skywalking-logger-route",
    "client_ip": "192.168.65.1",
    "@timestamp": "2025-01-16T12:51:53+00:00",
    "host": "127.0.0.1",
    "env": "dev",
    "resp_content_type": "application/json"
  }
]
有条件地记录请求主体#
以下示例演示了如何有条件地记录请求主体。
使用 skywalking-logger 插件创建一个路由,仅当 URL 查询字符串 log_body 为 yes 时才包含请求主体:
curl "http://127.0.0.1:9180/apisix/admin/routes" -X PUT \
  -H "X-API-KEY: ${admin_key}" \
  -d '{
    "id": "skywalking-logger-route",
    "uri": "/anything",
    "plugins": {
      "skywalking-logger": {
        "endpoint_addr": "http://192.168.2.103:12800",
        "include_req_body": true,
        "include_req_body_expr": [["arg_log_body", "==", "yes"]]
      }
    },
    "upstream": {
      "nodes": {
        "httpbin.org:80": 1
      },
      "type": "roundrobin"
    }
  }'
使用满足以下条件的 URL 查询字符串向路由发送请求:
curl -i "http://127.0.0.1:9080/anything?log_body=yes" -X POST -d '{"env": "dev"}'
您应该收到 HTTP/1.1 200 OK 响应。在 Skywalking UI 中,导航到 General Service > Services。您应该看到一个名为 APISIX 的服务,其中包含与您的请求相对应的日志条目,并记录了请求正文:
[
  {
    "request": {
      "url": "http://127.0.0.1:9080/anything?log_body=yes",
      "querystring": {
        "log_body": "yes"
      },
      "uri": "/anything?log_body=yes",
      ...,
      "body": "{\"env\": \"dev\"}",
    },
    ...
  }
]
向路由发送一个没有任何 URL 查询字符串的请求:
curl -i "http://127.0.0.1:9080/anything" -X POST -d '{"env": "dev"}'
您不应该观察到没有请求正文的日志条目。
info
如果您除了将 include_req_body 或 include_resp_body 设置为 true 之外还自定义了 log_format,则插件不会在日志中包含正文。
作为一种解决方法,您可以在日志格式中使用 NGINX 变量 $request_body,例如:
{
  "skywalking-logger": {
    ...,
    "log_format": {"body": "$request_body"}
  }
}
将跟踪与日志关联#
以下示例演示了如何在路由上配置 skywalking-logger 插件,以记录到达路由的请求信息。
使用 skywalking-logger 插件创建路由,并使用 OAP 服务器 URI 配置插件:
curl "http://127.0.0.1:9180/apisix/admin/routes" -X PUT \
  -H "X-API-KEY: ${admin_key}" \
  -d '{
    "id": "skywalking-logger-route",
    "uri": "/anything",
    "plugins": {
      "skywalking": {
        "sample_ratio": 1
      },
      "skywalking-logger": {
        "endpoint_addr": "http://192.168.2.103:12800"
      }
    },
    "upstream": {
      "nodes": {
        "httpbin.org:80": 1
      },
      "type": "roundrobin"
    }
  }'
生成几个对路由的请求:
curl -i "http://127.0.0.1:9080/anything"
您应该会收到 HTTP/1.1 200 OK 响应。
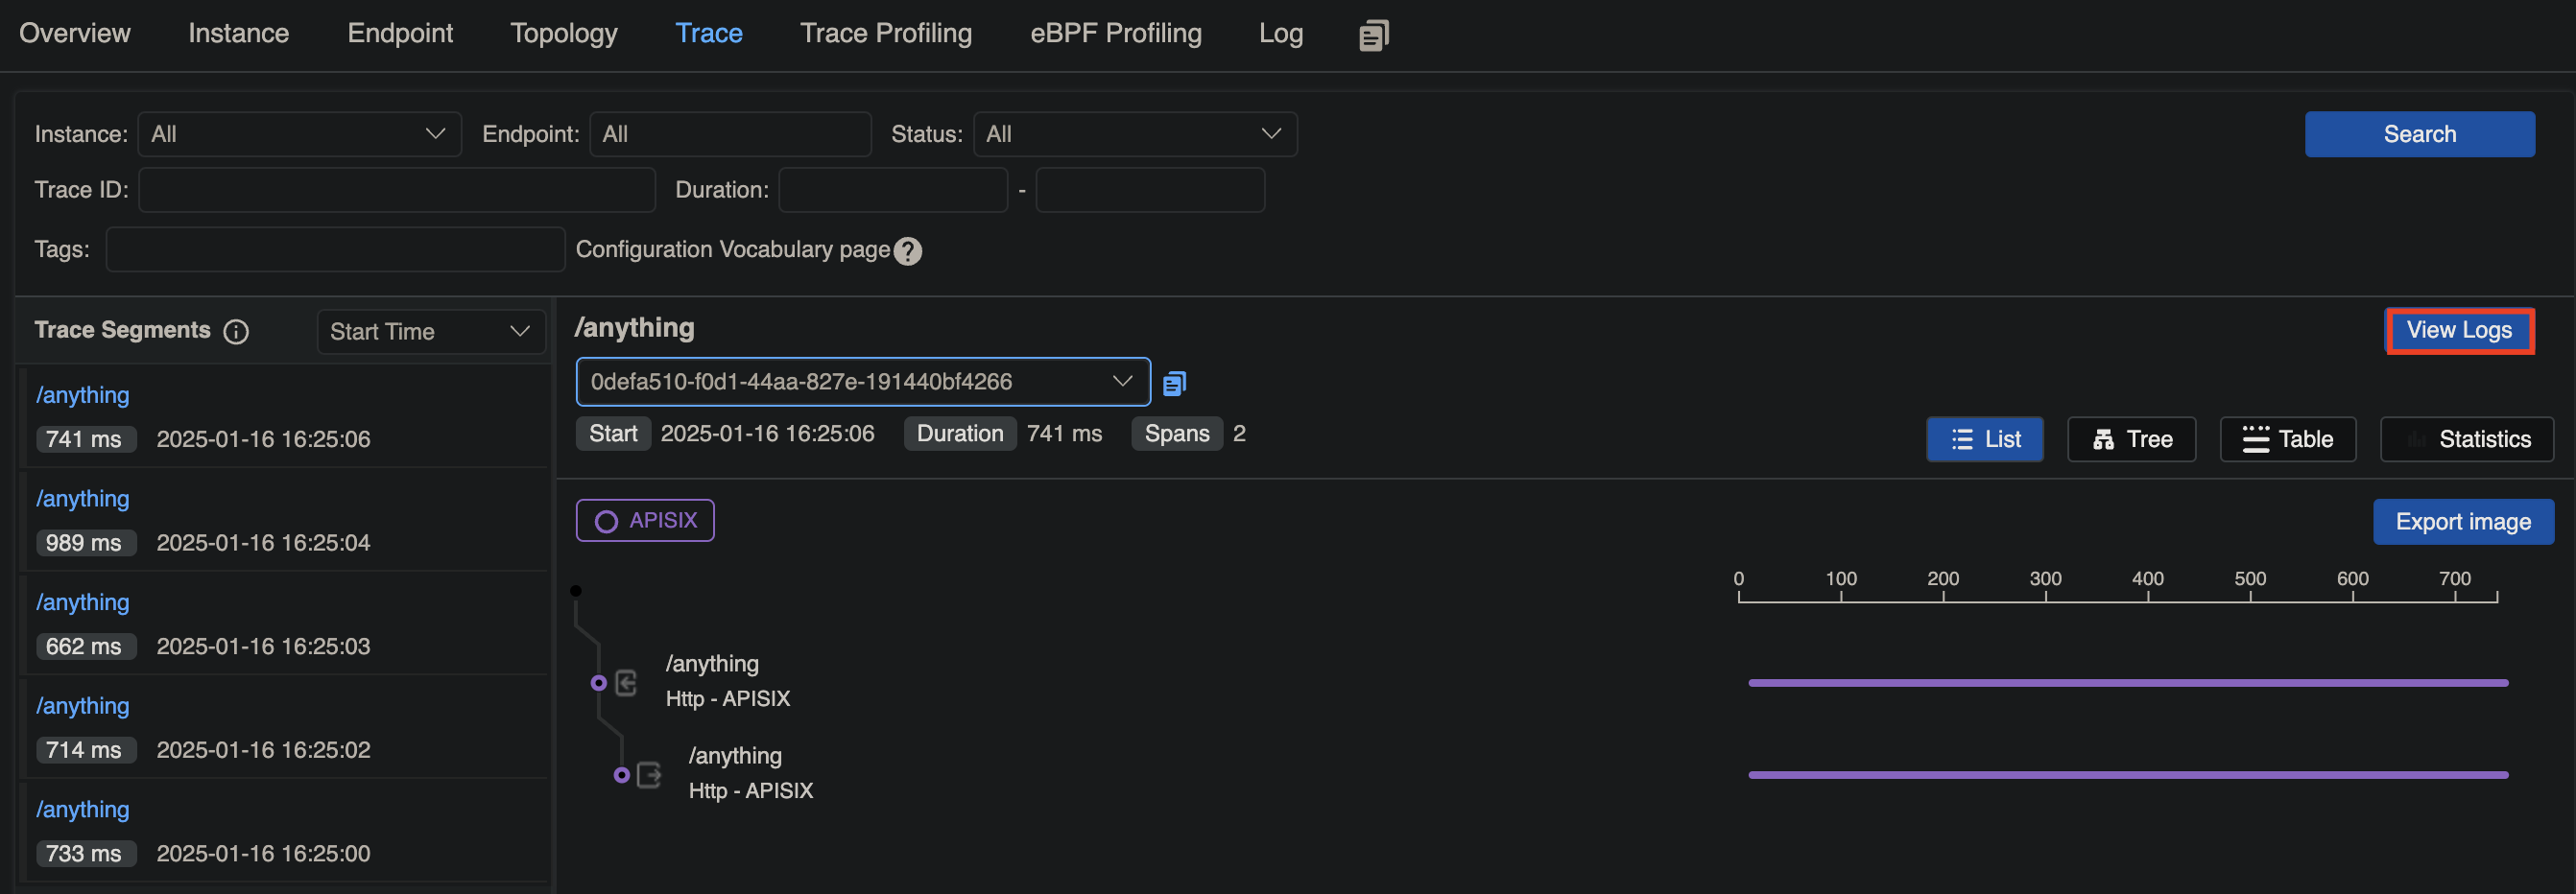
在 Skywalking UI 中,导航到 General Service > Services。您应该会看到一个名为 APISIX 的服务,其中包含与您的请求相对应的跟踪,您可以在其中查看相关日志: