管理 API 消费者
本教程介绍了如何使用 Apache APISIX 管理单个或多个 API 消费者(API Consumers)。
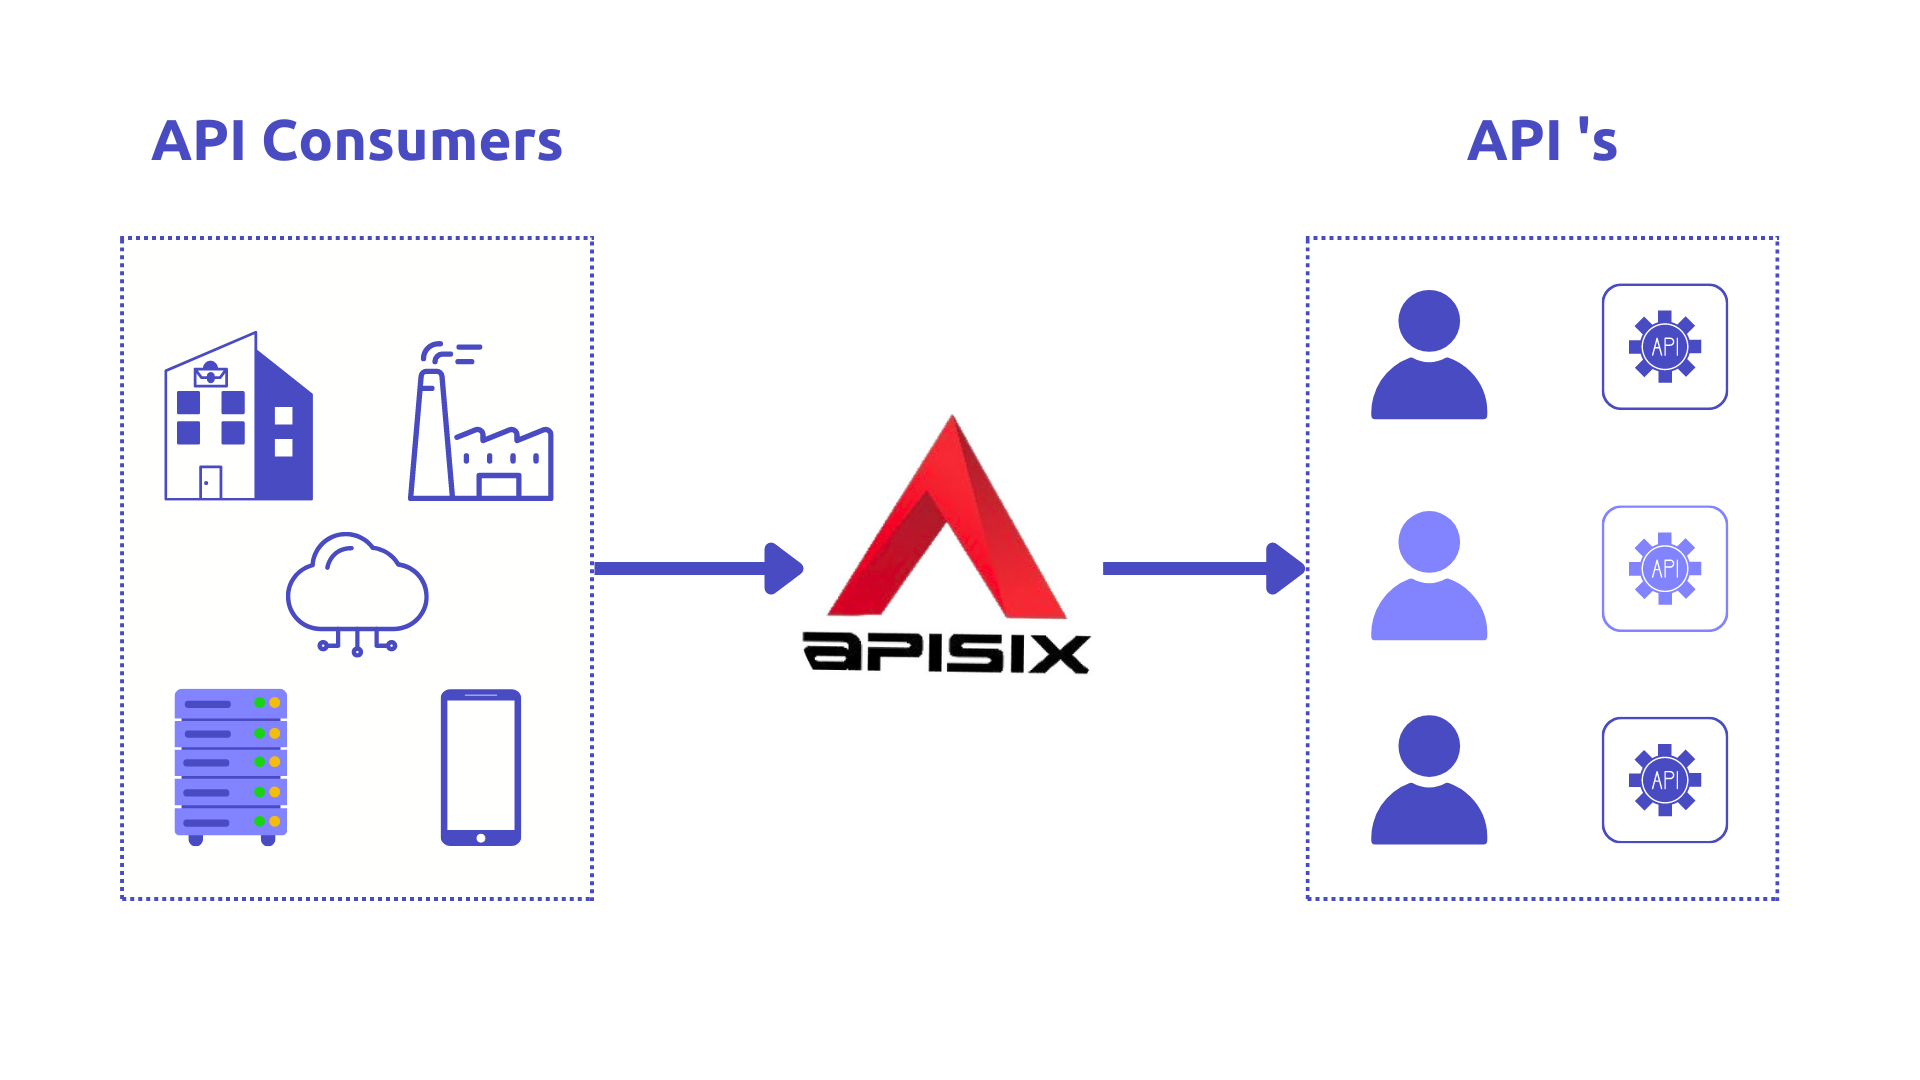
如今,API 使得多个系统、内部服务以及第三方应用能够轻松且安全地互联。API 消费者(API consumers)对于 API 提供方来说是最重要的利益相关者之一,因为他们与 API 及开发者门户的交互最为频繁。本文将介绍如何使用开源 API 管理解决方案 Apache APISIX 来管理单个或多个 API 消费者。
API 消费者(API Consumers)#
API 消费者是指使用某个 API 的用户,但他们并不会专门为该 API 开发应用。换句话说,API 消费者就是 API 的使用者。 例如,市场部门可能会使用 Facebook API 来分析社交媒体上对特定活动的反馈,他们会在需要时向提供的 API 发送独立且不定期的请求。
一个 API 管理 解决方案需要能够识别谁是 API 的消费者,以便针对不同的消费者配置不同的规则。
Apache APISIX 中的消费者(Consumers)#
在 Apache APISIX 中,Consumer 对象 是 API 消费者访问通过 API 网关(API Gateway) 发布的 API 的主要方式。 当不同的消费者请求同一个 API,而你需要针对不同消费者执行不同的 插件(Plugin) 或 上游(Upstream) 配置时,Consumer 概念会非常有用。
通过 Apache APISIX API 网关发布 API 后,可以轻松使用消费者密钥(consumer key,也称订阅密钥 subscription key)来保护 API 访问。
需要使用已发布 API 的开发者必须在调用这些 API 的 HTTP 请求中包含有效的订阅密钥。若订阅密钥无效,API 网关会立即拒绝请求,而不会将其转发到后端服务。
消费者可以关联不同的作用范围:按插件、所有 API 或单个 API。 在 API 网关中,结合插件使用消费者对象可以实现多种场景:
- 为不同消费者启用不同的认证方式。 当消费者尝试通过不同认证机制(如 API key、Basic、或基于 JWT 的认证)访问 API 时,这种机制非常有用。
- 限制特定消费者对 API 资源的访问。
- 根据消费者将请求路由到相应的后端服务。
- 定义数据消费的速率限制。
- 分析单个消费者或消费者子集的数据使用情况。
Apache APISIX Consumer 示例#
下面我们来看一个示例,演示如何结合 key-auth 认证插件(API Key)与 limit-count 插件,为单个消费者或一组消费者配置限流策略。
在本示例中,我们将使用一个基于 ASP.NET Core Web API 的 示例项目,该项目包含一个简单的 GET 接口,用于获取商品列表。
项目的运行方式可在其 README 文件 中找到详细说明。
为单个消费者启用限流(Rate Limiting)#
假设此时示例项目已经启动运行。 要将消费者对象与上述两个插件配合使用,我们需要执行以下步骤:
- 创建一个新的 Consumer(消费者)。
- 为该消费者配置认证插件
key-auth和限流插件limit-count。 - 创建新的 Route(路由),并设置路由规则(如有需要)。
- 为该路由启用
key-auth插件配置。
以上步骤只需通过两条 curl 命令 调用 APISIX 的 Admin API 即可完成。
第一条命令创建一个启用了 API Key 认证的 新消费者,并配置限流规则: 该消费者在 60 秒内最多只能调用产品 API 两次。
curl http://127.0.0.1:9180/apisix/admin/consumers -H "X-API-KEY: $admin_key" -X PUT -d '
{
   "username":"consumer1",
   "plugins":{
      "key-auth":{
         "key":"auth-one"
      },
      "limit-count":{
         "count":2,
         "time_window":60,
         "rejected_code":403,
         "rejected_msg":"Requests are too many, please try again later or upgrade your subscription plan.",
         "key":"remote_addr"
      }
   }
}'
接下来,我们定义一个新的 Route(路由) 与 Upstream(上游),
使得所有到达网关端点 /api/products 的请求在通过认证后,都会被转发到示例项目的产品服务。
curl http://127.0.0.1:9180/apisix/admin/routes/1 -H "X-API-KEY: $admin_key" -X PUT -d '
{
  "name": "Route for consumer request rate limiting",
  "methods": [
    "GET"
  ],
  "uri": "/api/products",
  "plugins": {
      "key-auth": {}
  },
  "upstream": {
    "type": "roundrobin",
    "nodes": {
      "productapi:80": 1
    }
  }
}'
在此配置下,Apache APISIX 将正常处理前两次请求,
但在相同的 60 秒时间窗口内的 第三次请求 将返回一个 403 HTTP 状态码。
curl http://127.0.0.1:9080/api/products -H 'apikey: auth-one' -i
如果在 60 秒内连续调用三次接口,示例输出如下:
HTTP/1.1 403 Forbidden
Content-Type: text/plain; charset=utf-8
Transfer-Encoding: chunked
Connection: keep-alive
Server: APISIX/2.13.1

{"error_msg":"Requests are too many, please try again later or upgrade your subscription plan."}
当请求次数达到阈值后,APISIX 将拒绝后续请求。
为消费者组启用限流(Rate Limiting for Consumer Groups)#
在 Apache APISIX 中,Consumer Group(消费者组) 对象用于管理开发者对后端服务的可见性。 后端服务首先对特定组可见,然后组内的开发者即可查看并订阅与该组关联的产品。
借助消费者组,你可以为一组消费者定义多级限流策略,而无需逐个管理每个消费者。
典型场景包括:
- API 商业化中的不同定价策略,例如“Basic 套餐”的消费者每分钟允许调用 50 次 API;
- 或根据用户角色(管理员、开发者、访客等)启用不同的 API 权限访问。
你可以通过 Apache APISIX 的管理 REST API 中的 Consumer Group 实体 来创建、更新、删除和管理消费者组。
Consumer groups 示例#
为了演示,我们将分别为 Basic(基础) 和 Premium(高级) 两种套餐创建两个消费者组(Consumer Group)。
我们可以为每个组添加一个或两个消费者,并通过 rate-limiting 插件来控制来自不同消费者组的流量。
要在限流场景中使用消费者组,你需要执行以下步骤:
- 创建一个或多个启用了
limit-count插件的消费者组。 - 创建消费者(Consumers),并将它们分配到对应的组中。
下面的两条 curl 命令用于分别创建名为 basic_plan 和 premium_plan 的消费者组:
创建 Basic Plan(基础套餐)的消费者组
curl http://127.0.0.1:9180/apisix/admin/consumer_groups/basic_plan -H "X-API-KEY: $admin_key" -X PUT -d '
{
    "plugins": {
        "limit-count": {
            "count": 2,
            "time_window": 60,
            "rejected_code": 403,
            "group": "basic_plan"
        }
    }
}'
创建 Premium Plan(高级套餐)的消费者组
curl http://127.0.0.1:9180/apisix/admin/consumer_groups/premium_plan -H "X-API-KEY: $admin_key" -X PUT -d '
{
    "plugins": {
        "limit-count": {
            "count": 200,
            "time_window": 60,
            "rejected_code": 403,
            "group": "premium_plan"
        }
    }
}'
在上述步骤中,我们为 Basic Plan 设置了限流规则:每 60 秒内仅允许 2 次请求; 而 Premium Plan 则允许在相同时间窗口内执行 200 次 API 请求。
创建并将第一个消费者加入 Basic 组
curl http://127.0.0.1:9180/apisix/admin/consumers -H "X-API-KEY: $admin_key" -X PUT -d '
{
    "username": "consumer1",
    "plugins": {
        "key-auth": {
            "key": "auth-one"
        }
    },
    "group_id": "basic_plan"
}'
创建并将第二个消费者加入 Premium 组
curl http://127.0.0.1:9180/apisix/admin/consumers -H "X-API-KEY: $admin_key" -X PUT -d '
{
    "username": "consumer2",
    "plugins": {
        "key-auth": {
            "key": "auth-two"
        }
    },
    "group_id": "premium_plan"
}'
创建并将第三个消费者加入 Premium 组
curl http://127.0.0.1:9180/apisix/admin/consumers -H "X-API-KEY: $admin_key" -X PUT -d '
{
    "username": "consumer3",
    "plugins": {
        "key-auth": {
            "key": "auth-three"
        }
    },
    "group_id": "premium_plan"
}'
之后,我们可以验证限流效果:
属于 Basic Plan 组的第一个消费者 consumer1 在 1 分钟内调用 API 超过 2 次后,将收到 403 HTTP 状态码错误;
而属于 Premium Plan 组的其他两个消费者则可继续请求,直到达到各自的请求上限。
你可以通过在请求头中更换认证密钥来执行以下命令进行测试:
curl -i http://127.0.0.1:9080/api/products -H 'apikey: auth-one'
curl -i http://127.0.0.1:9080/api/products -H 'apikey: auth-two'
curl -i http://127.0.0.1:9080/api/products -H 'apikey: auth-three'
请注意,你还可以在任意时刻将消费者添加到或移出消费者组,并启用其他内置插件。
更多教程#
阅读我们的其他 教程,以了解更多有关 API 管理(API Management) 的内容。