
This article walks you through using Nocalhost to seamlessly connect your local development machine to a remote Kubernetes cluster, allowing you to use IDE to develop and debug Apache APISIX Ingress Controller. Giving you the ability to comfortably develop and debug your remote apps with your existing skills.
Prerequisites
- Prepare an available Kubernetes cluster in your workstation. You can use any Kubernetes clusters that you have namespace admin privilege.
- Helm v3.0+ installed
- GoLand IDE 2020.03+ (Use GoLand 2021.2 in this article)
- Install Nocalhost JetBrains plugin
- Install Go 1.13 or later
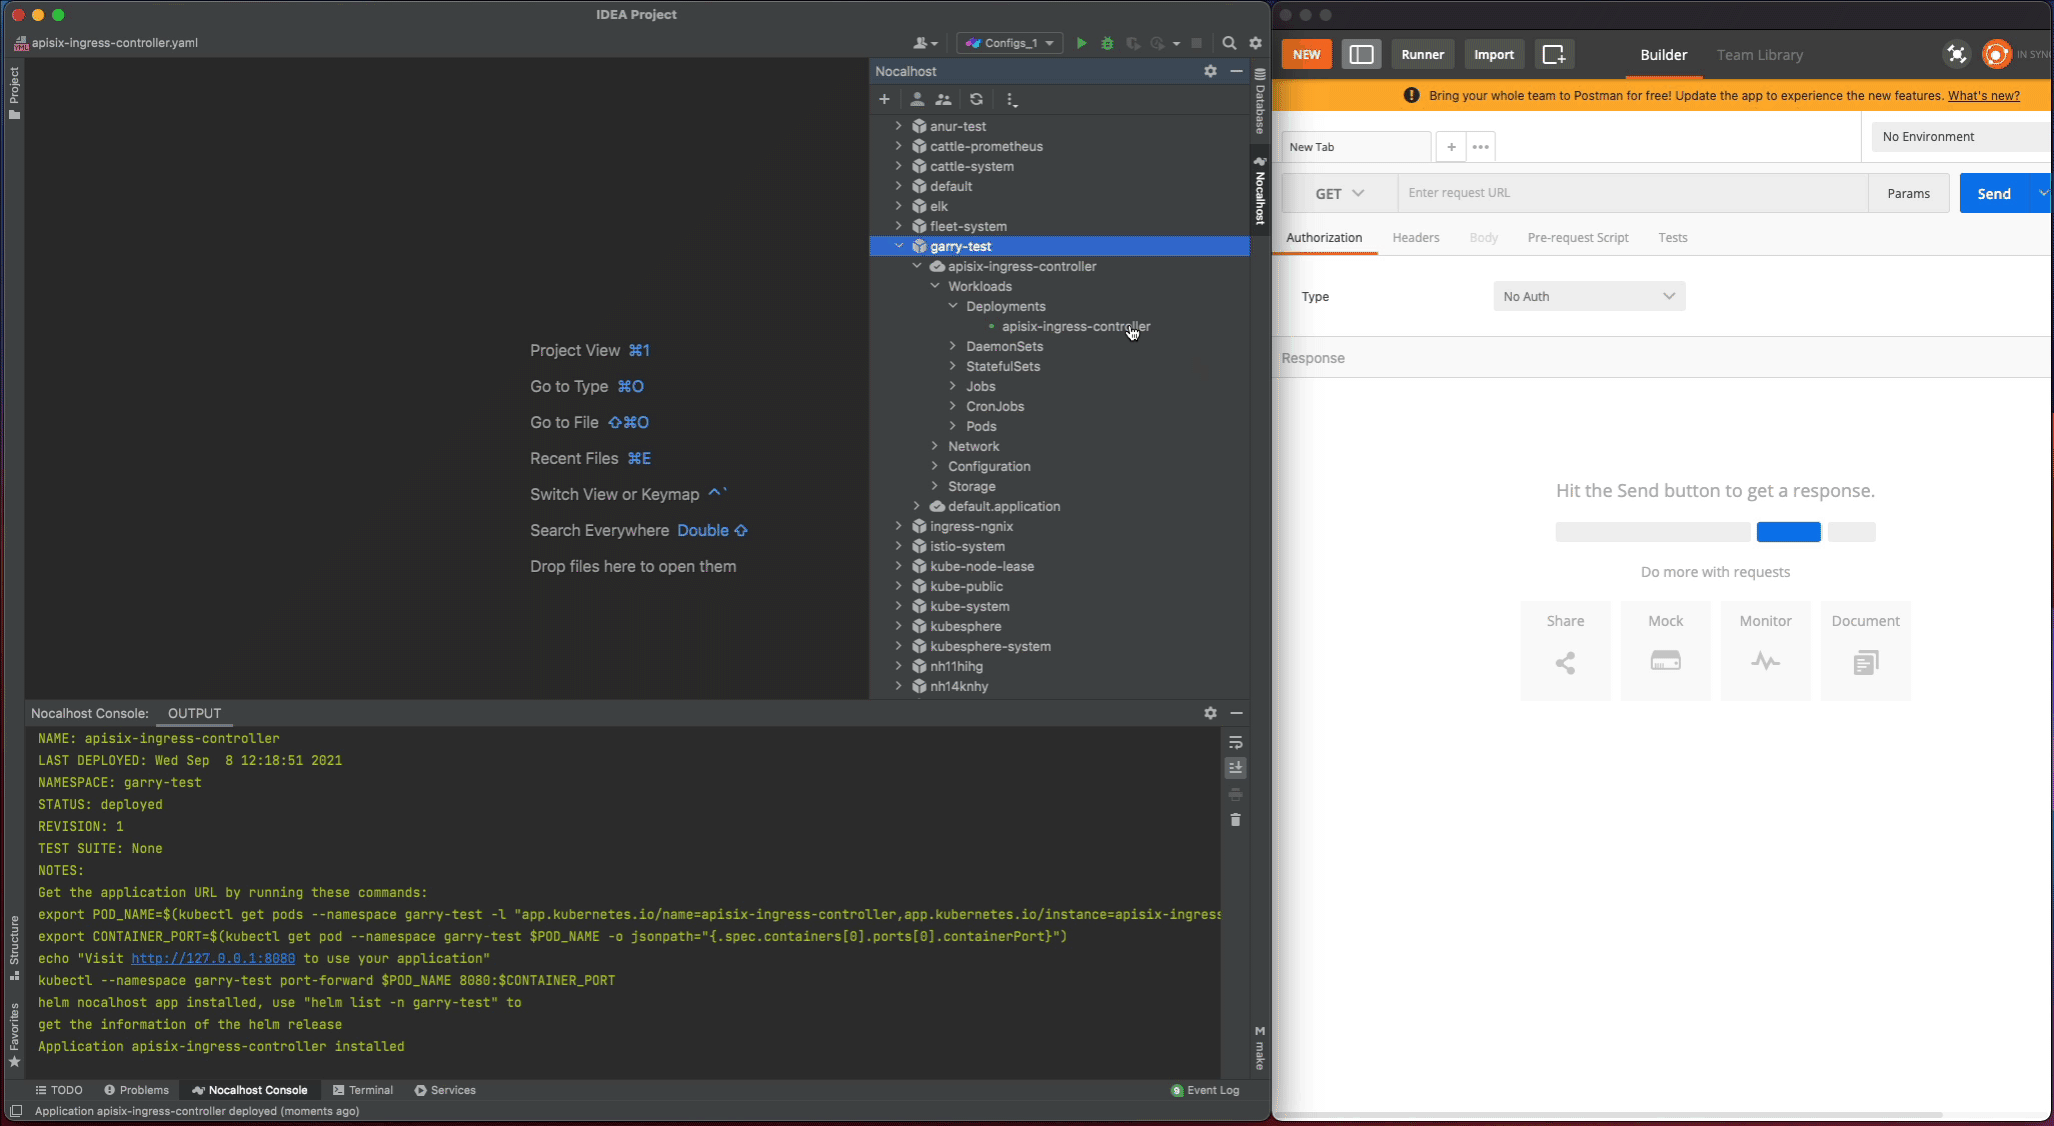
Deploy Apache APISIX Ingress Controller
I'm going to deploy Apache APISIX Ingress Controller by Nocalhost within GoLand:
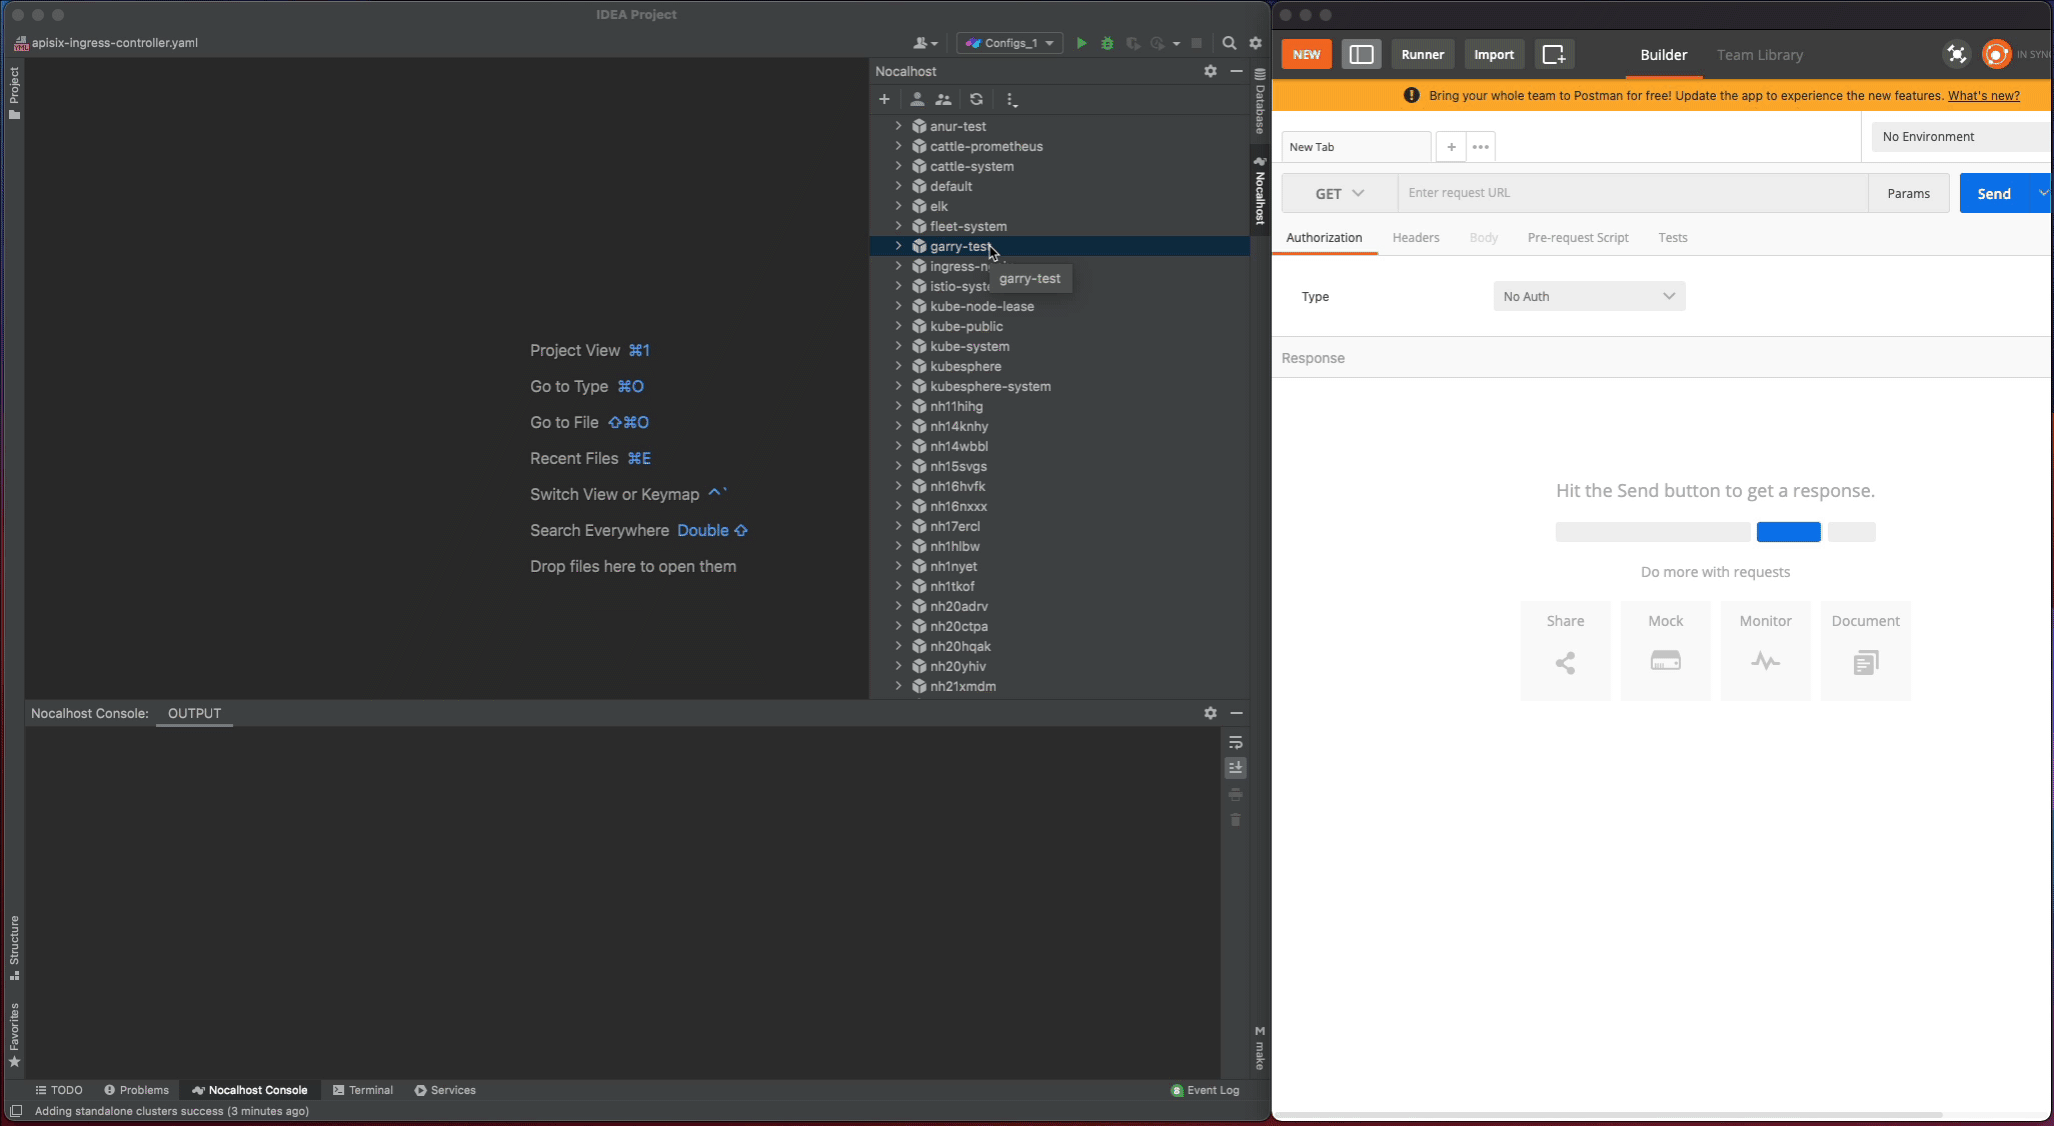
Open the Nocalhost plugin within GoLand
Use the cluster inspector to select the namespace that you want to deploy.
Right-click the selected namespace, choose
Deploy Application, and selectHelm Repoas installation method.In the following dialog box, input:
apisix-ingress-controllerasNamehttps://charts.apiseven.comasChart URL
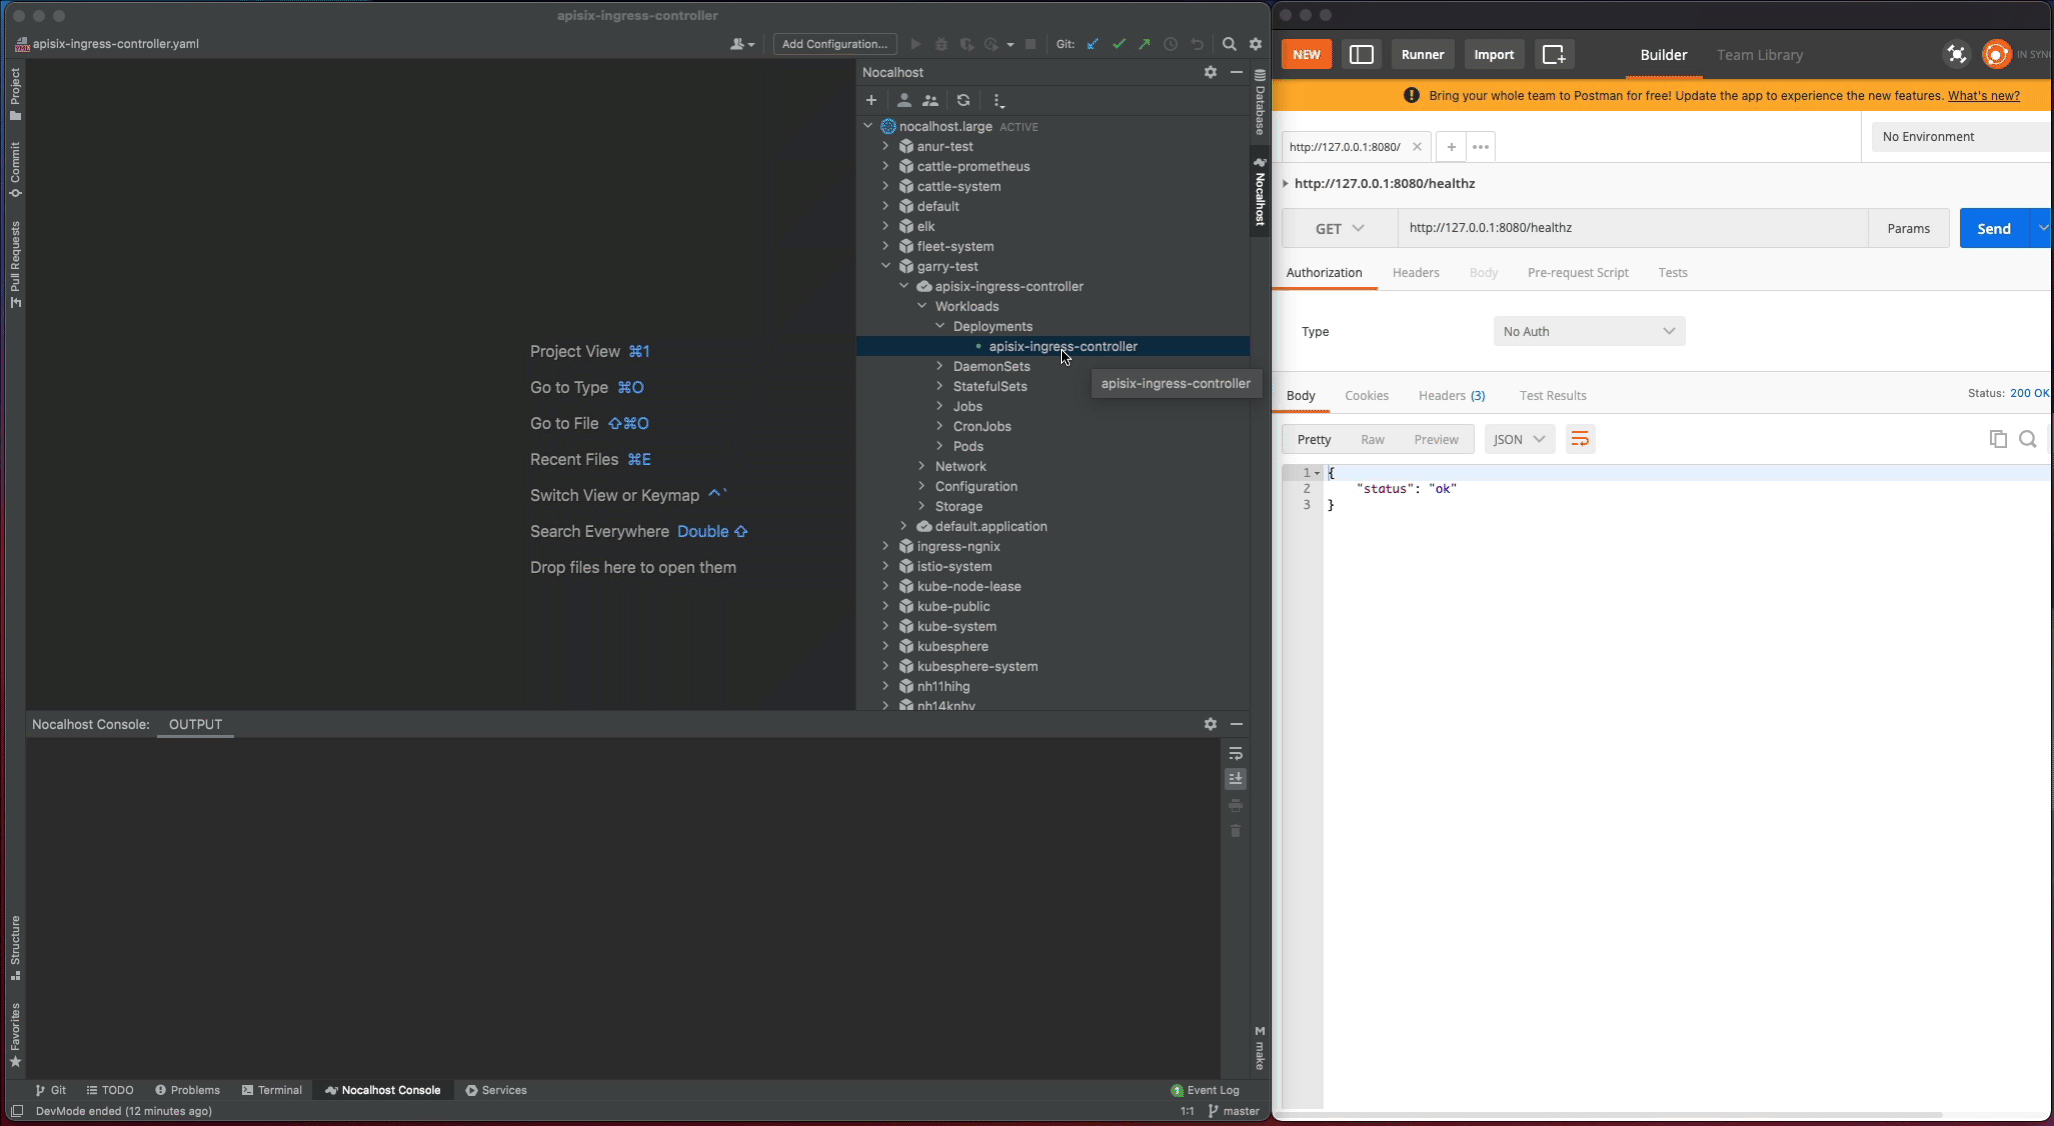
Let's test the apisix-ingress-controller after deployment by enable the port-forwarding within IDE:
- Find the
apisix-ingress-controllerworkload in the cluster inspector, right-click and select thePort Forward - Add the port-forwarding
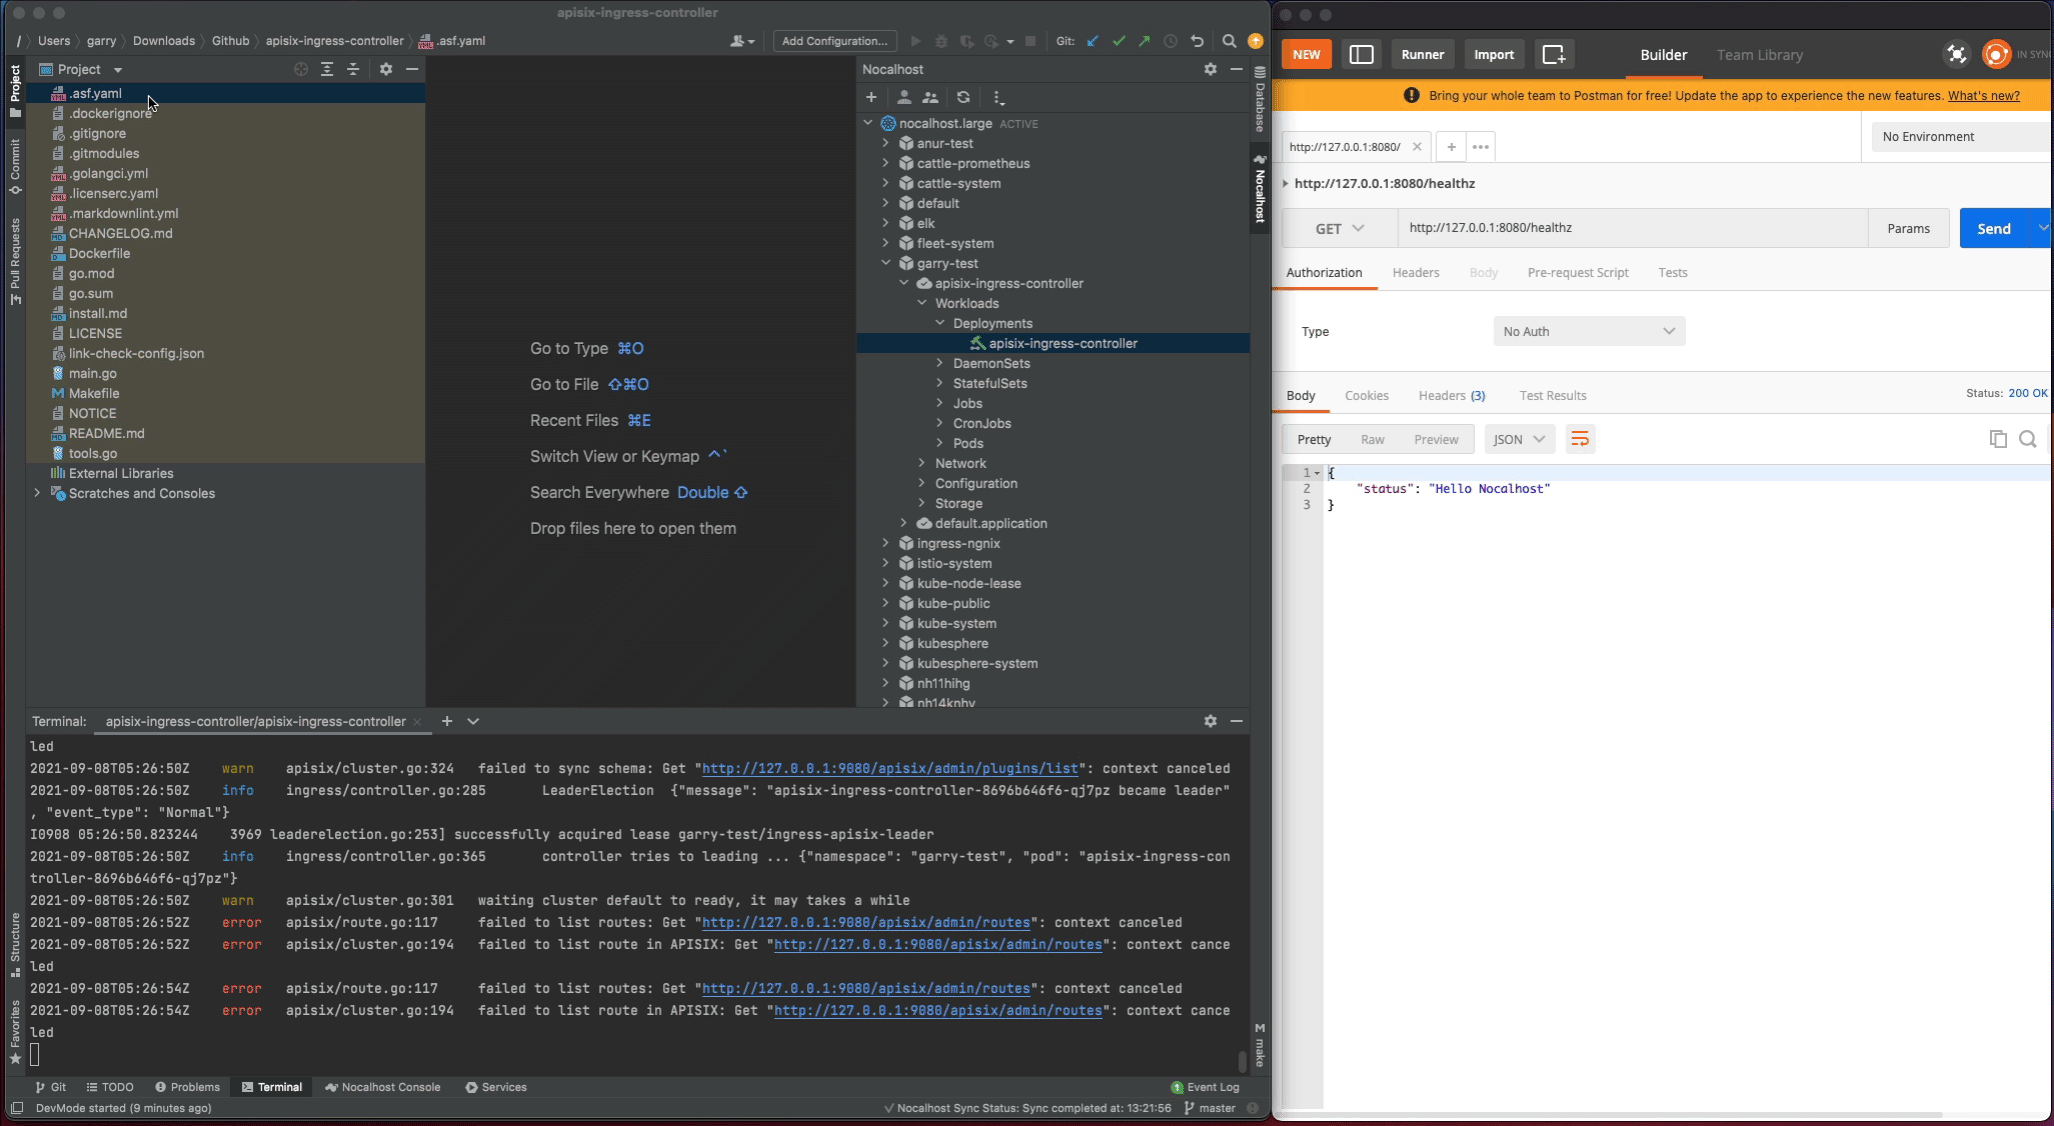
8080:8080 - Visiting the
http://127.0.0.1:8080/healthzin local and check the result
Developing
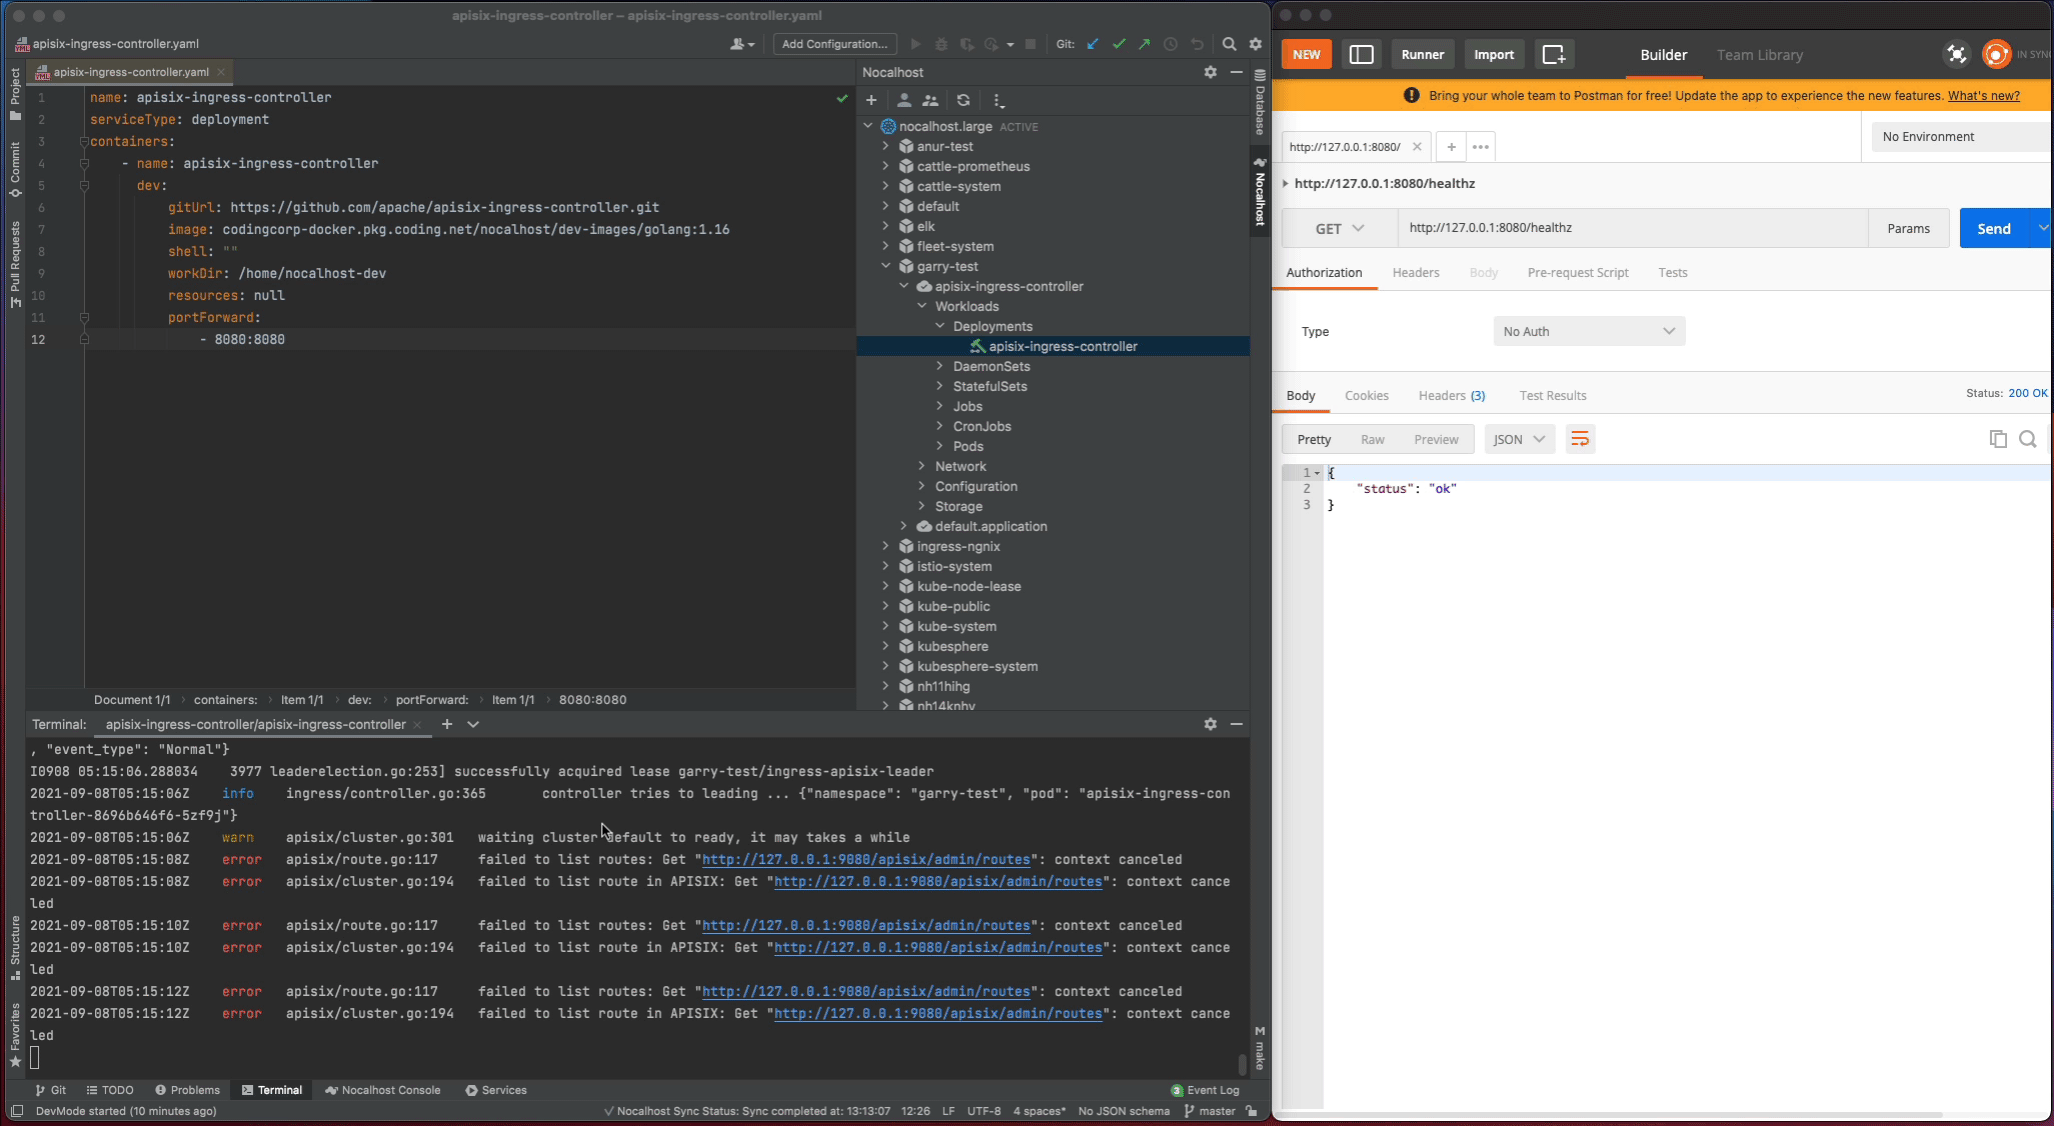
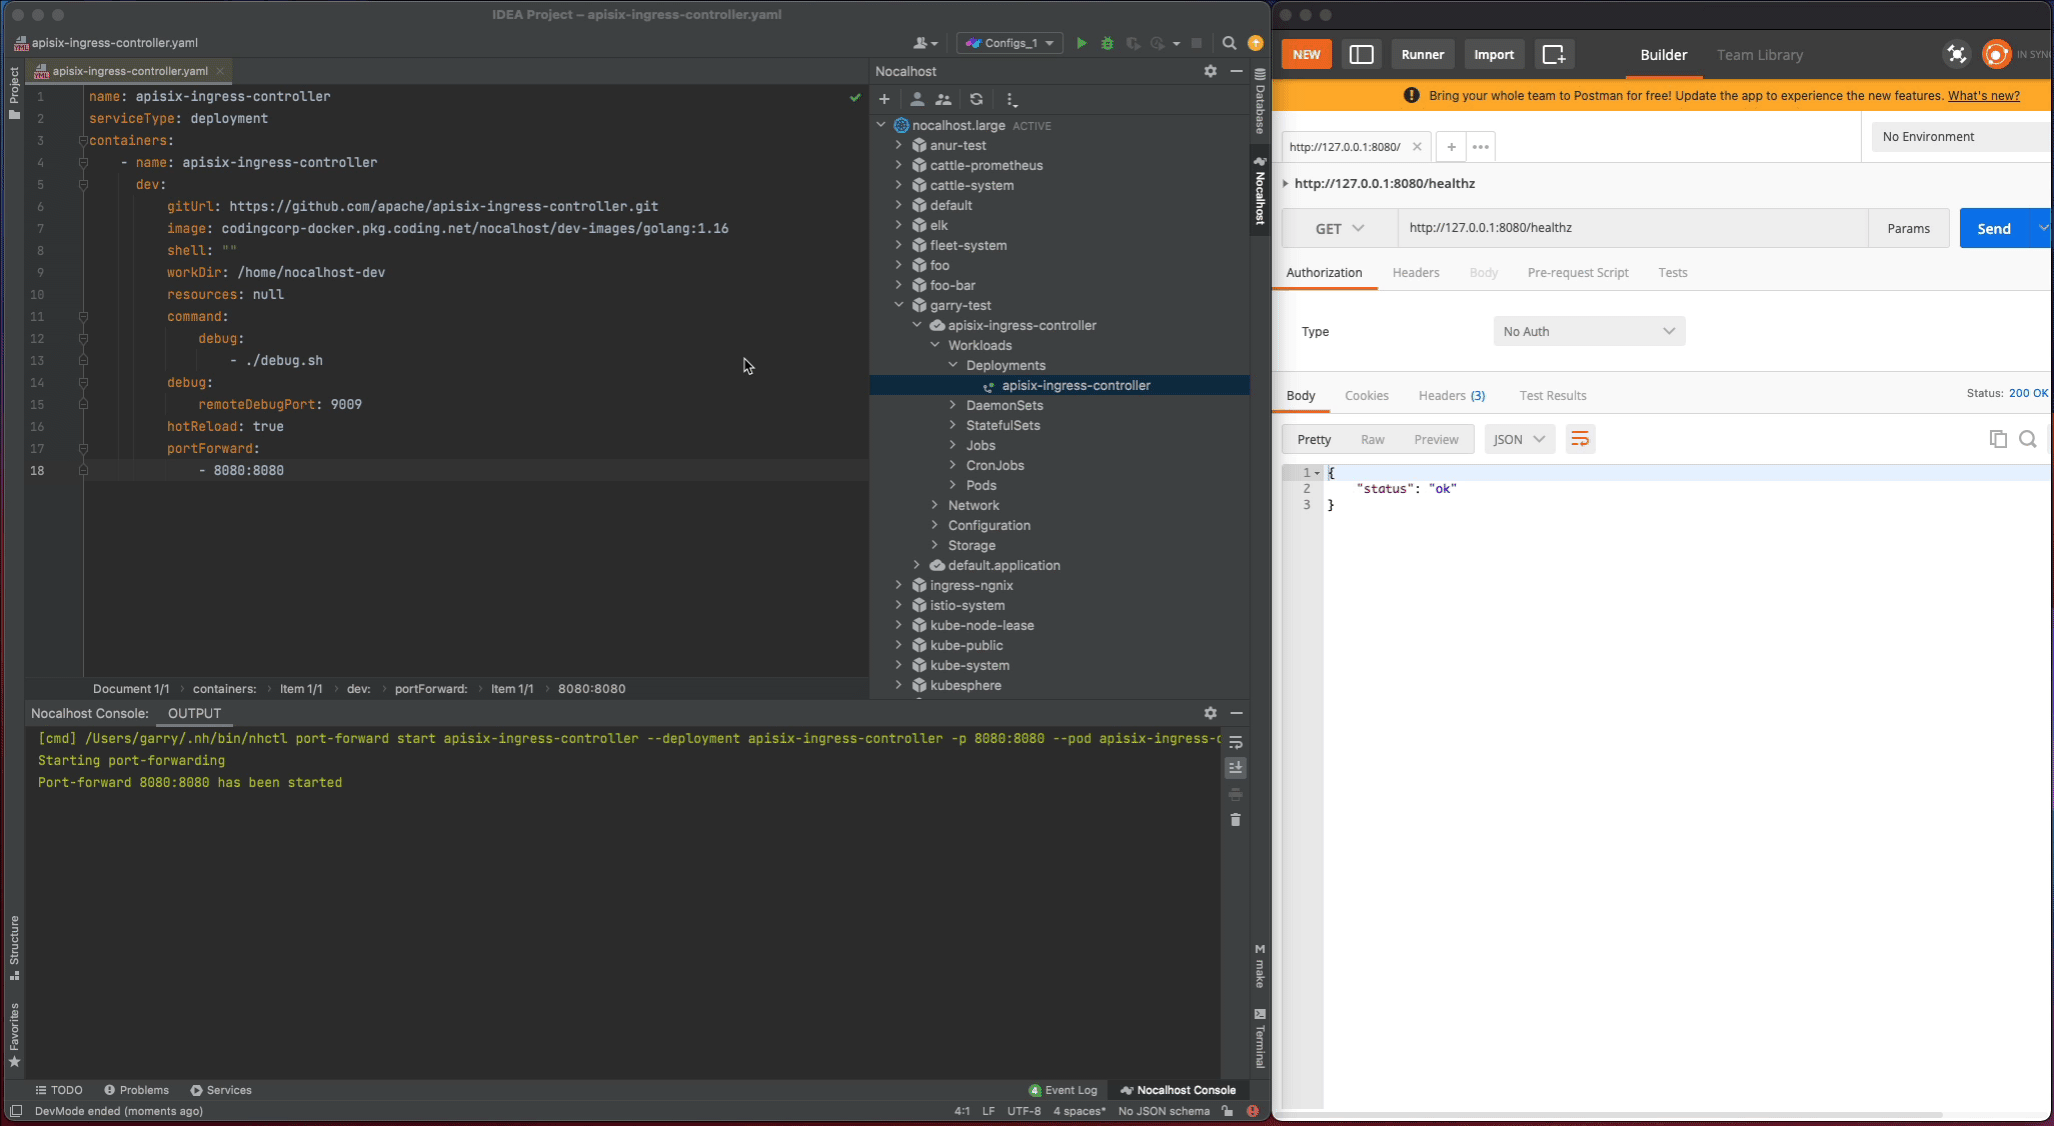
Step 1: Start DevMode
- Right-click the deployment
apisix-ingress-controllerin cluster inspector, selectStart DevMode - Choose your source code directory if you have already cloned in local, or let Nocalhost clone the source code for you by entering the apache/apisix-ingress-controller repository URL
- Wait for the operations, Nocalhost will open the remote terminal within IDE after entering DevMode
Now start the apisix-ingress-controller process by entering the following command in the remote terminal:
go run main.go ingress --config-path conf/config-default.yaml
After the apisix-ingress-controller has started, access the service by visiting http://127.0.0.1:8080/healthz on local and check the result.
Step 2: Change code and check result
Now I will make some code changes and check the result.
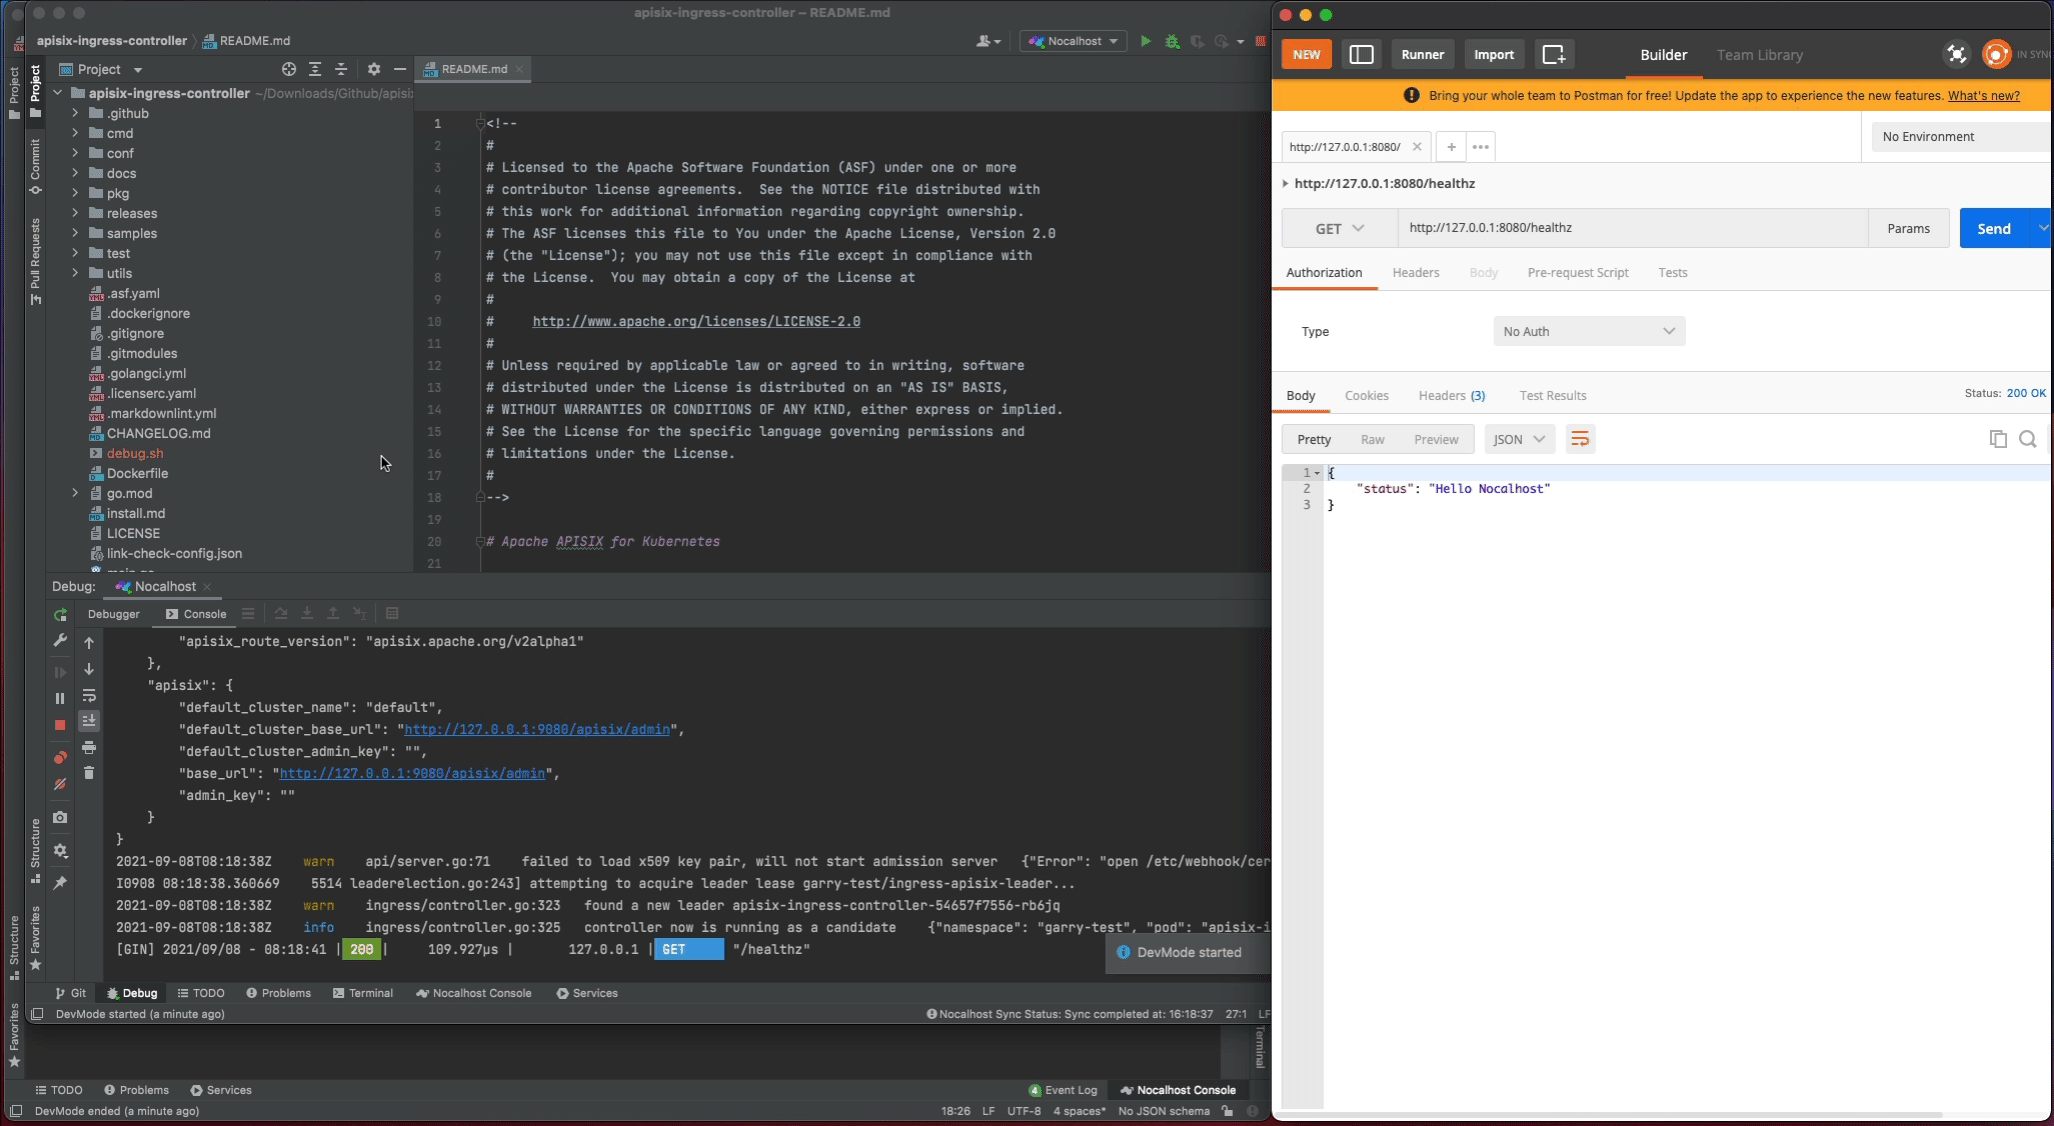
- Stop the
apisix-ingress-controllerprocess - Search
healthzand find therouter.gofile. Change thehealthzResponsestatus code fromoktoHello Nocalhost - Start the process again and check the change result in local
Step 3. End DevMode
Now close the development window and end DevMode.
- Right-click the
apisix-ingress-controllerin the cluster inspector - Select
End DevMode
Nocalhost will make apisix-ingress-controller end development mode, and reset the apisix-ingress-controller Pod to its original version. Enable the port-forwarding and check the result after ending DevMode.
Code Change: All code changes in development mode will only take effect in the development container.
After exiting the development mode, Nocalhost will reset the remote container to its original state (before the code is modified). In this way, after exiting the development mode, the modification of the code will not cause any changes or impact on the original environment.
Debugging
Debugging an application is not easy, and debugging an application in the Kubernetes cluster is even more difficult. Nocalhost is here to help by providing the same debugging experience you're used in the IDE when debugging in the remote Kubernetes cluster.
Step 1: Start remote debugging
We can start remote debugging by:
- Right-click
apisix-ingress-controllerand chooseRemote Debug - Nocalhost will put
apisix-ingress-controllerinto DevMode and run debug command defined indev configautomatically
Step 2: Step through breakpoints
Now set a breakpoint on the healthz function. Hover over just to the left of the line number and click on the red dot. Once it’s set, visit http://127.0.0.1:8080/healthz in your local browser, GoLand should pop to the foreground. Click the play button to close the request and the progress should continue loading.
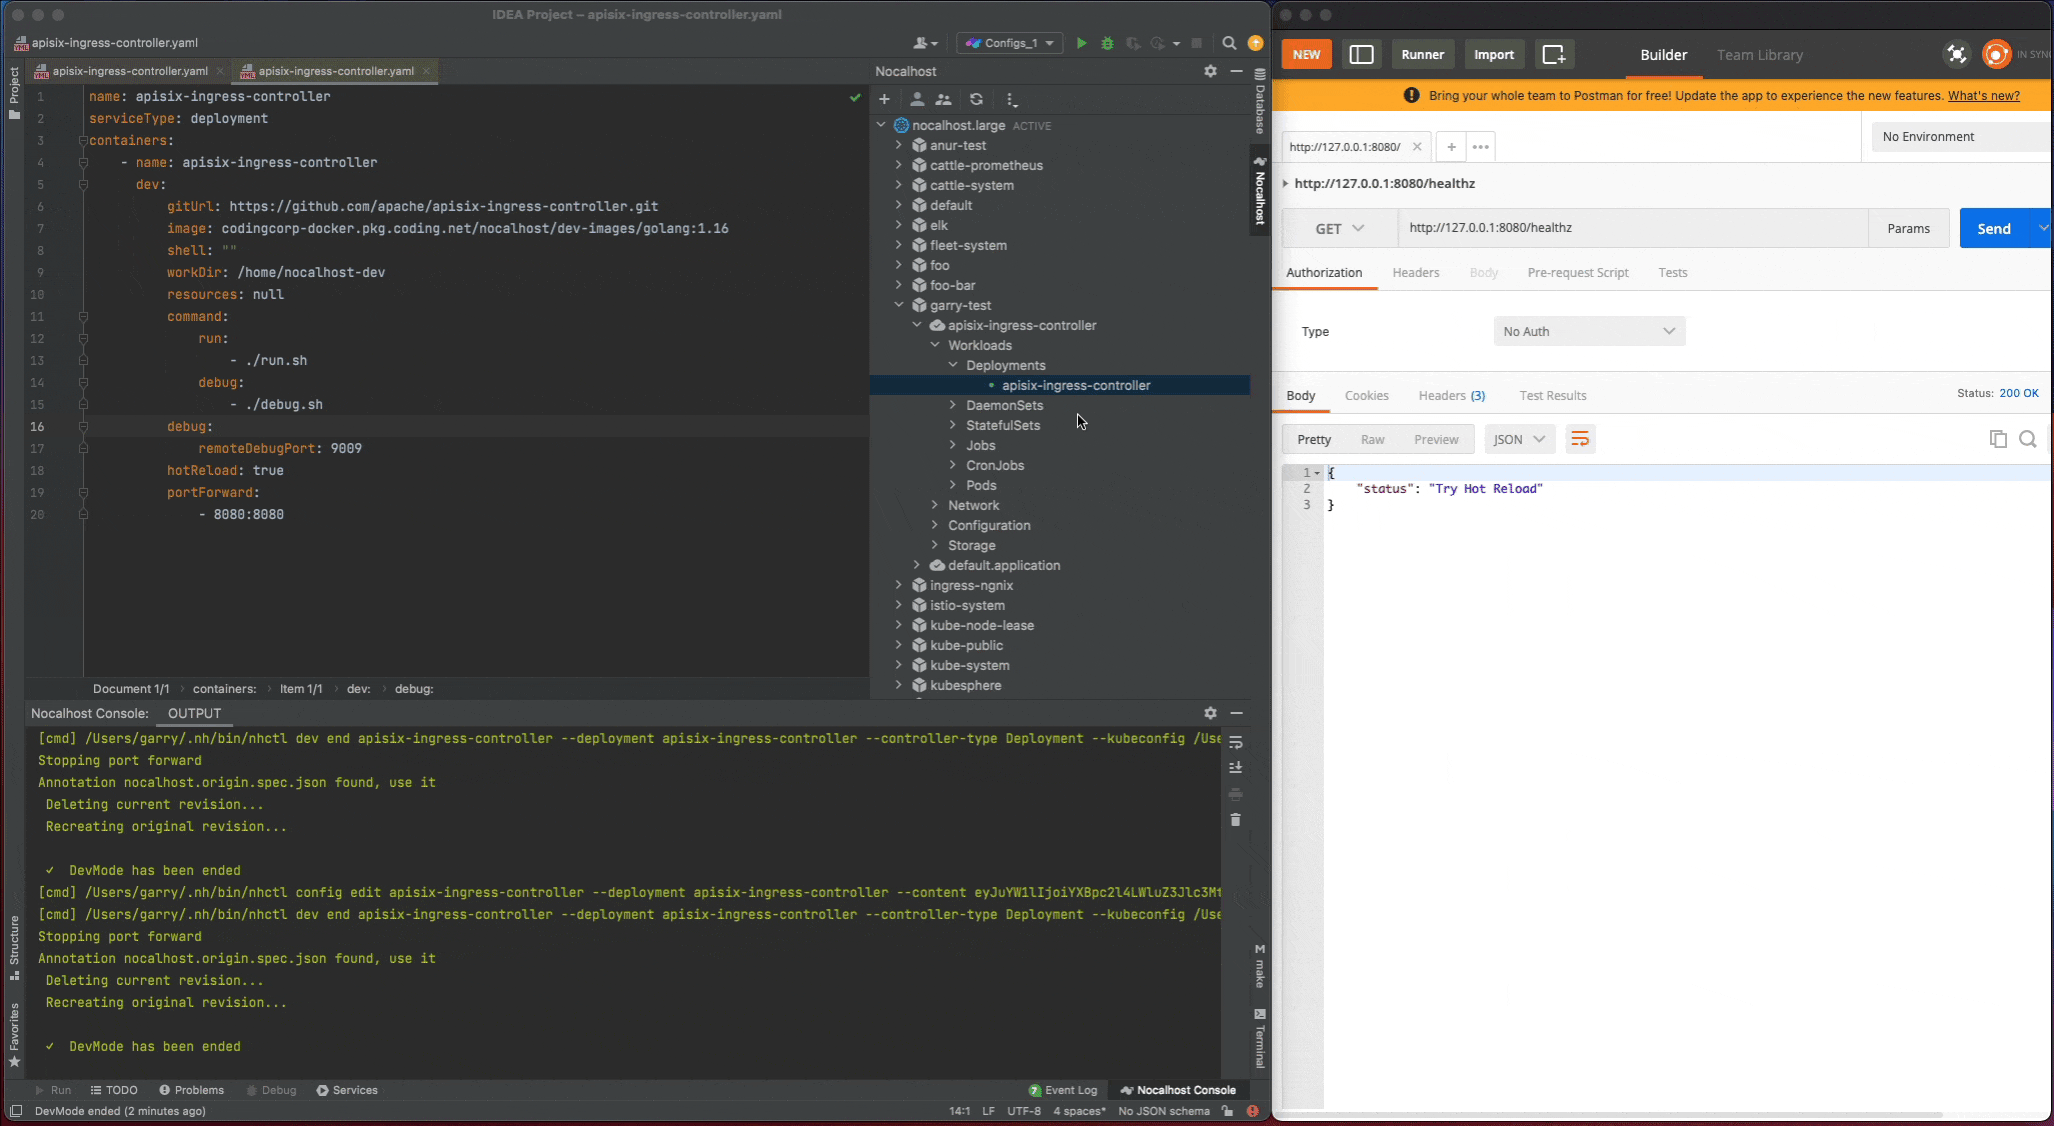
In addition, as I enable the dev.hotReload, so every time you make the code change, Nocalhost will automatically re-run the debug command. This is very useful when you make the code change and debug frequently.
Remote Run
Not just remote debugging, Nocalhost also provides an easy way to run your Go service in the Kubernetes cluster, plus hot reload!
You can using the remote run feature by:
- Right-click
apisix-ingress-controllerin cluster inspector, chooseRemote Run - Nocalhost will put
apisix-ingress-controllerinto development mode and and run start command defined indev configautomatically
Now every time you make code changes, Nocalhost will automatically trigger the run command. You can now enjoy the hot reload for Go without complex configuration.
Conclusion
We’ve learned how to use Nocalhost to develop and debug the APISIX Ingress Controller in Kubernetes. Now, instead of waiting for slow local development processes, we can iterate quickly with an instant feedback loop and a productive cloud-native development environment.