
By reading this article you will learn how to build Apache APISIX (M1 chip environment) in ARM Ubuntu from source code. The ARM Ubuntu system is installed with the help of https://multipass.run/.
Prerequisites
Clone source code
First follow the official documentation. Clone the Apache APISIX source code repository and go to the project directory.
git clone https://github.com/apache/apisix.git
cd apisix
git checkout release/2.11
Install OpenResty
First, install the dependencies required for the project in one click via an automation script, running the following command in the project root directory.
bash utils/install-dependencies.sh
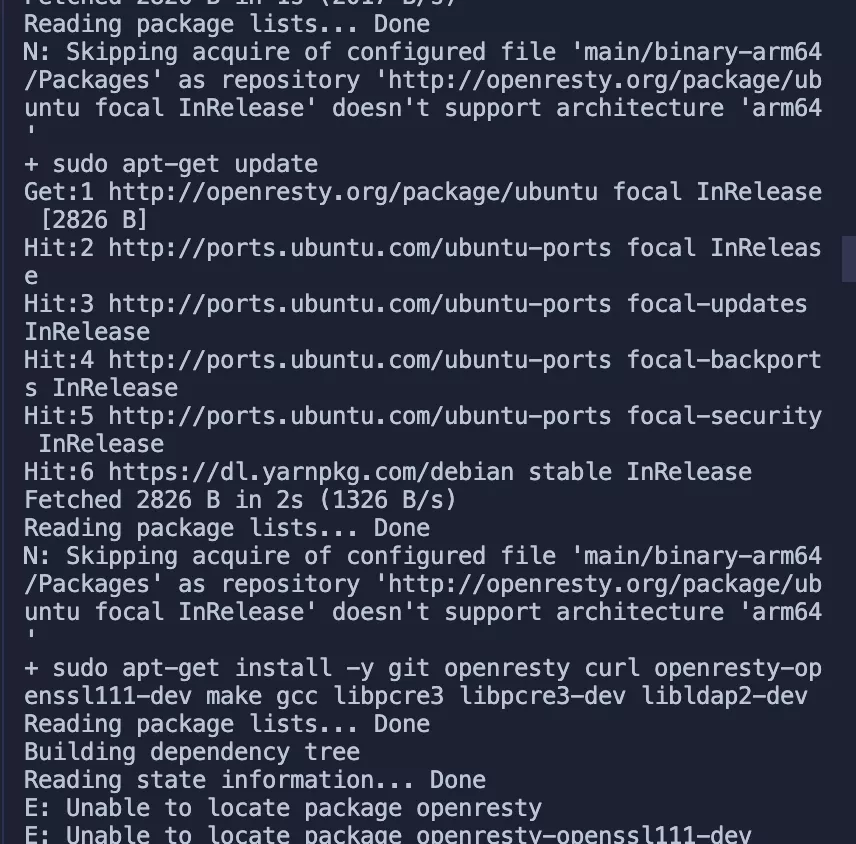

As you can see from the error message, it is due to the failure to install OpenResty successfully. The root cause is that there is no source for the ARM 64 platform by default.
Here we install OpenResty manually, the installation steps can be found at https://openresty.org/cn/linux-packages.html#ubuntu.
Step 1: Install the several dependencies required to import the GPG public key
Specific code examples can be found below (you can delete them at any time after the entire installation process is complete).
sudo apt-get -y install --no-install-recommends wget gnupg ca-certificates
Step 2: Import GPG key
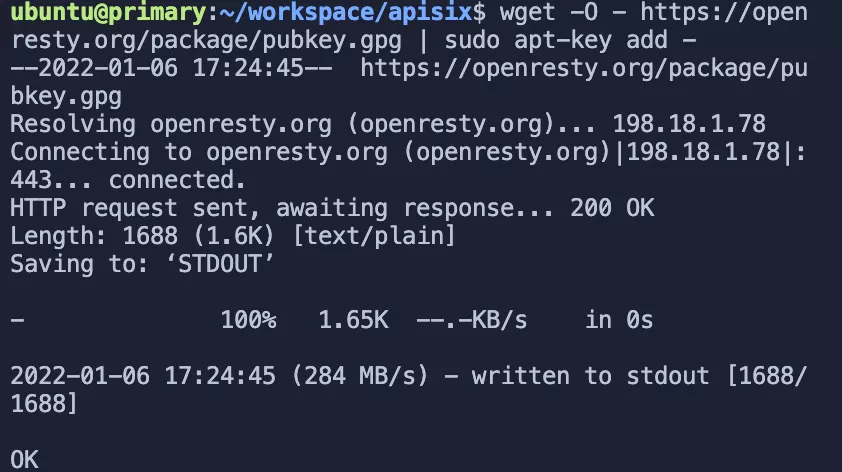
wget -O - https://openresty.org/package/pubkey.gpg | sudo apt-key add -
The import was successful as shown in the figure below.

Step 3: Add the official OpenResty APT repository
For x86_64 or amd64 systems, the following command can be used.
echo "deb http://openresty.org/package/ubuntu $(lsb_release -sc) main" \
    | sudo tee /etc/apt/sources.list.d/openresty.list
For ARM64 or aarch64 systems, you can use the following command (run on M1 to run the command, the last command will report an error).
echo "deb http://openresty.org/package/arm64/ubuntu $(lsb_release -sc) main" \
    | sudo tee /etc/apt/sources.list.d/openresty.list
Step 4: Update the APT Index
sudo apt-get update
After that, you can install the software package according to the code below. Here we take OpenResty as an example.
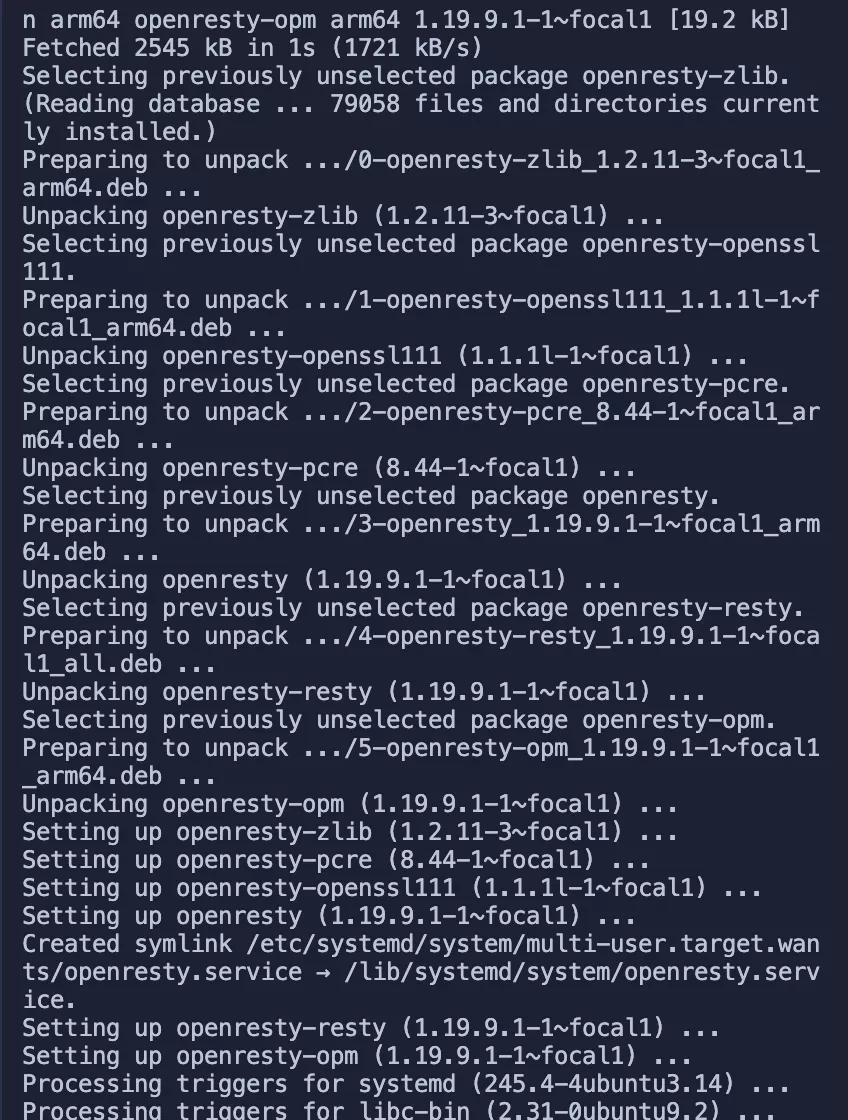
sudo apt-get -y install openresty
Step 5: Delete the corresponding associated package (optional)
Finally, we can delete the package and its corresponding associated package with the following command.
sudo apt-get -y install --no-install-recommends software-properties-common
Successful installation of OpenResty.

Install Dependencies
First rerun the installation dependency script. Then run the command LUAROCKS_SERVER=https://luarocks.cn to install the dependencies.
bash utils/install-dependencies.sh
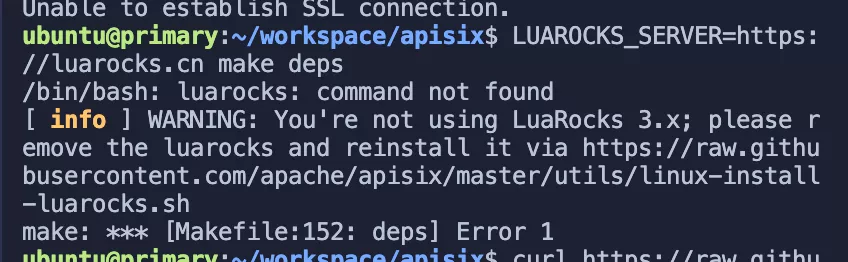

Simply run the following command.
curl https://raw.githubusercontent.com/apache/apisix/master/utils/linux-install-luarocks.sh -sL | bash -
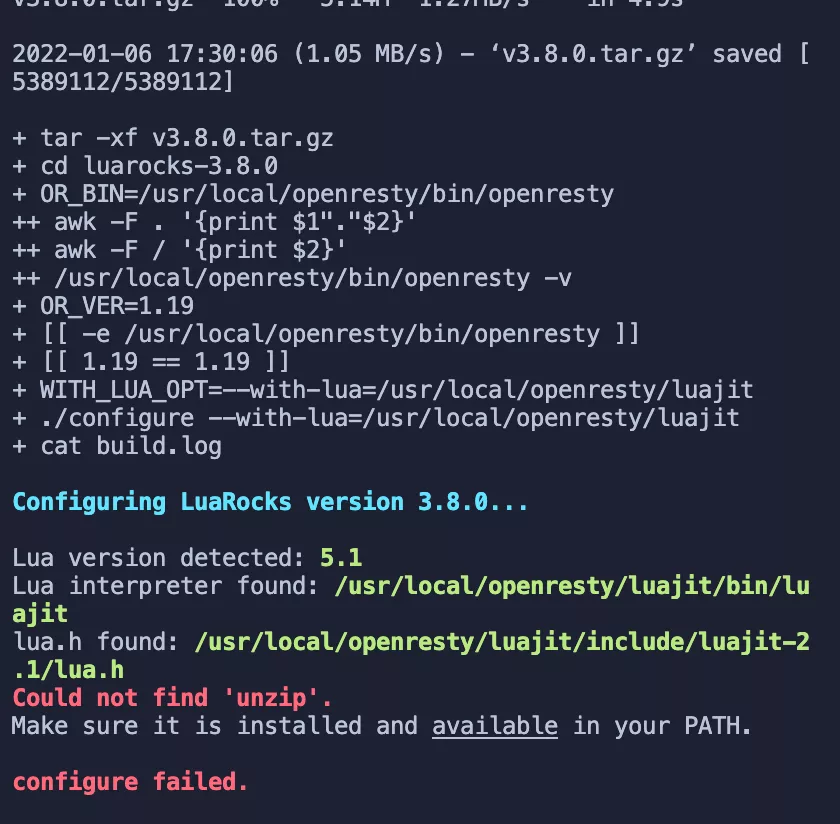

Find the error prompt based on the feedback from the figure above, and then execute the following command.
sudo apt install wget sudo unzip
Then we rerun the following command.
curl https://raw.githubusercontent.com/apache/apisix/master/utils/linux-install-luarocks.sh -sL | bash -
Finally, run the installation dependency instruction LUAROCKS_SERVER=https://luarocks.cn make deps


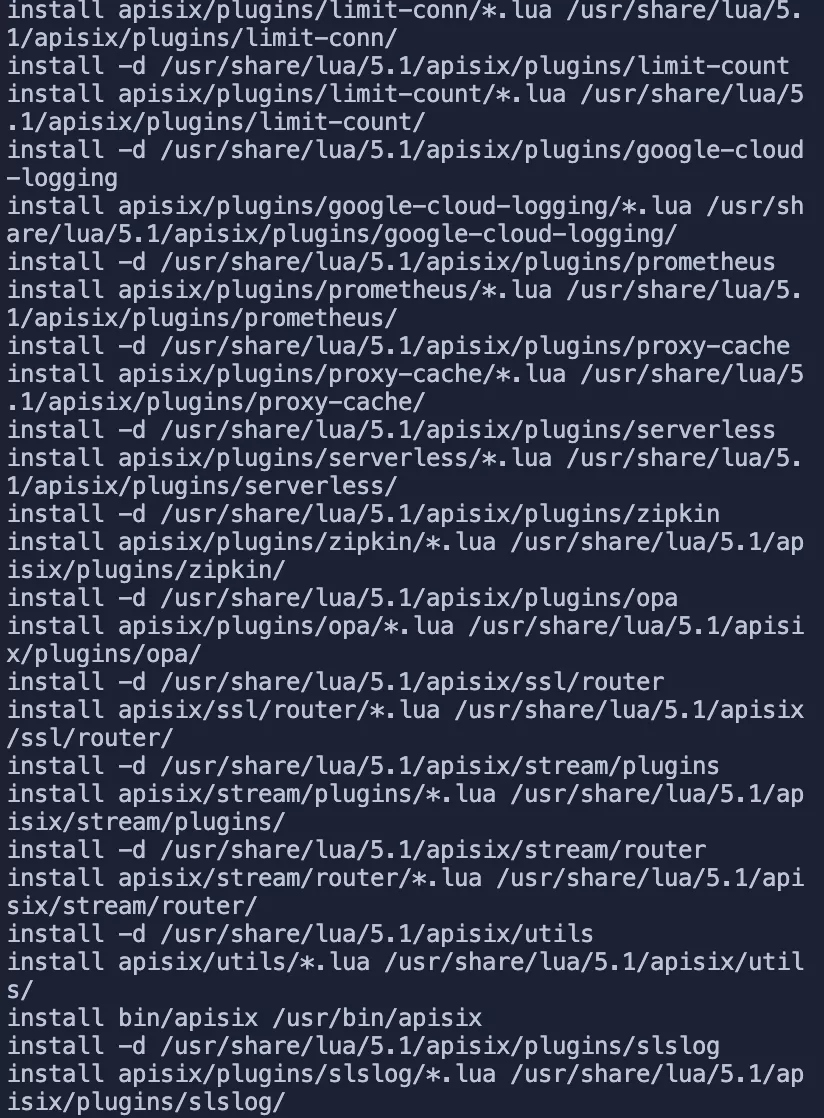
At this point, most of the dependencies have been successfully installed, but a new error message appears (it looks like the two repositories failed to clone). It doesn't matter, it doesn't matter for the time being, you can execute the APISIX installation command here.
make install
# If you get an insufficient permissions message, use `sudo make install`

Install etcd
Before starting Apache APISIX you need to install etcd, more details can refer to the official documentation.
note
Because the installation tutorial was not written for arm, although etcd, was successfully installed, etcd could not be run successfully due to the default use of x86 binaries. The specific part of stepping on the pit will not be repeated here, but will directly put the correct steps for your reference.
Run the etcd in Docker
Step 1: Install Docker
sudo apt install docker.io
tip
Common docker commands(add sudo before the command if you get no permission error):
- View a list of all containers
docker ps -a - View the list of running containers
docker ps - View the list of images
docker image list - Delete all containers
docker container prune - Delete all images
docker image prune -f -a
More references can refer to Docker Getting Started Tutorial - Ruan Yifeng's Weblog.
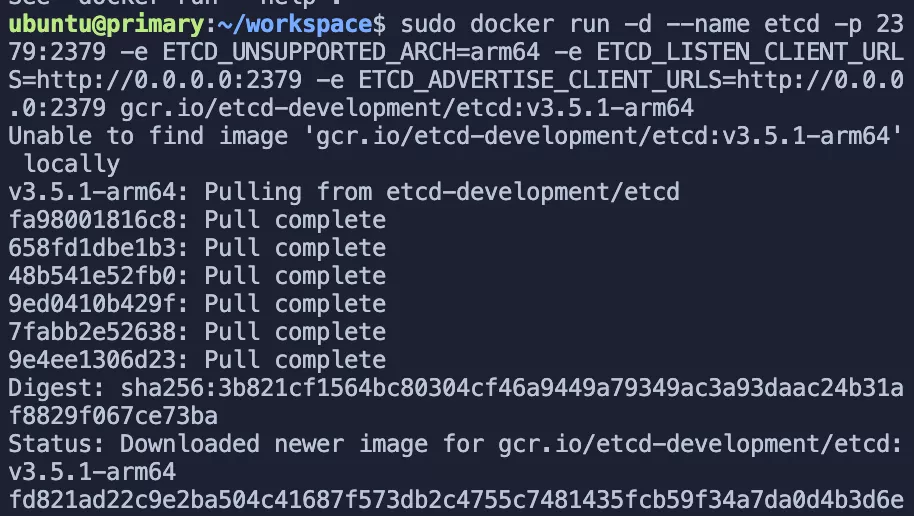
Step 2: Pull and run etcd
sudo docker run -d --name etcd -p 2379:2379 -e ETCD_UNSUPPORTED_ARCH=arm64 -e ETCD_LISTEN_CLIENT_URLS=http://0.0.0.0:2379 -e ETCD_ADVERTISE_CLIENT_URLS=http://0.0.0.0:2379 gcr.io/etcd-development/etcd:v3.5.1-arm64
It should be noted that the proxy needs to be enabled for mirroring in this operation.

Step 3: Verify etcd status
sudo docker ps -a
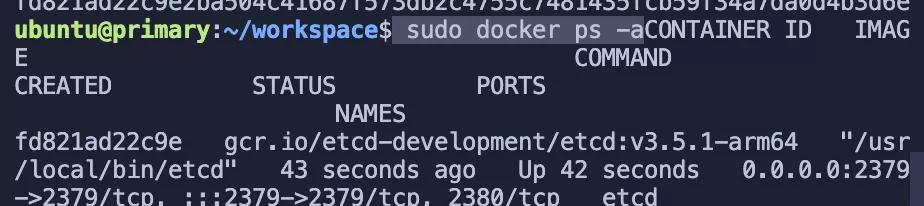

As you can see, etcd has been successfully started.
Start Apache APISIX
After doing this, all the dependent projects are now ready, and now you are ready to start Apache APISIX.
Step 1: Install dependencies
make deps
make install
Step 2: Initialise dependencies and start APISIX
apisix init

# start APISIX
apisix start

# stop APISIX
apisix stop
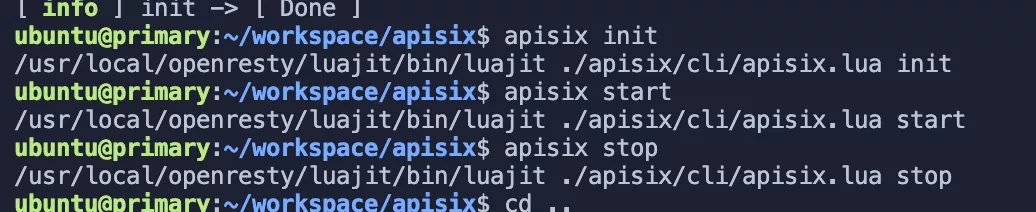

Apache APISIX started successfully. For more details on how to install and build Apache APISIX, please see official documentation.
Summary
Through detailed steps, this article shows you how to deploy and install Apache APISIX under Macbook M1 chip system. In overall practice, there will be some trampling process, but the overall experience is still a successful deployment.
If you have better suggestions, you are welcome to contribute to the Apache APISIX build documentation and leave your suggestions to help more people.